
Laser engraving machines are no longer only used in the professional sector. Hobbyists are also increasingly turning to these helpful machines with plenty of power. This is not really surprising given the many possible applications. From homemade wooden Christmas presents to engraved pencils as promotional items and large-format acrylic panels as wall decorations, there are virtually no limits to the imagination with the right laser. In the Acmer P3 test, we were able to take a look at a laser engraving machine that can work with different laser modules and can therefore be used for a wide variety of projects. For our review, we were provided with the model with a 24 watt diode laser.
Technical data
| Model | Acmer P3 laser engraving machine (24W) |
| Laser power | 24W |
| Laser technology | Diode laser |
| Laser spot | 0.07 x 0.09 mm |
| Working area | 400 x 400 mm |
| dimensions | 585 x 660 x 270 mm |
| Machine weight | 19 kg |
| Movement precision | 0.01 mm |
| Max. engraving speed | 48000 mm/min |
| Camera resolution | 2592 x 1944 pixels |
| File formats | NC, DXF, BMP, JPG, PNG, etc. |
| Materials | Wood, bamboo, paper, plastic, leather, PCB board, aluminum oxide, non-reflective coatings and painted metals, ceramics, stainless steel, some dark, opaque acrylics, etc. |
| Safety features |
|
| price |
|
Scope of delivery

Acmer P3 test: design and workmanship
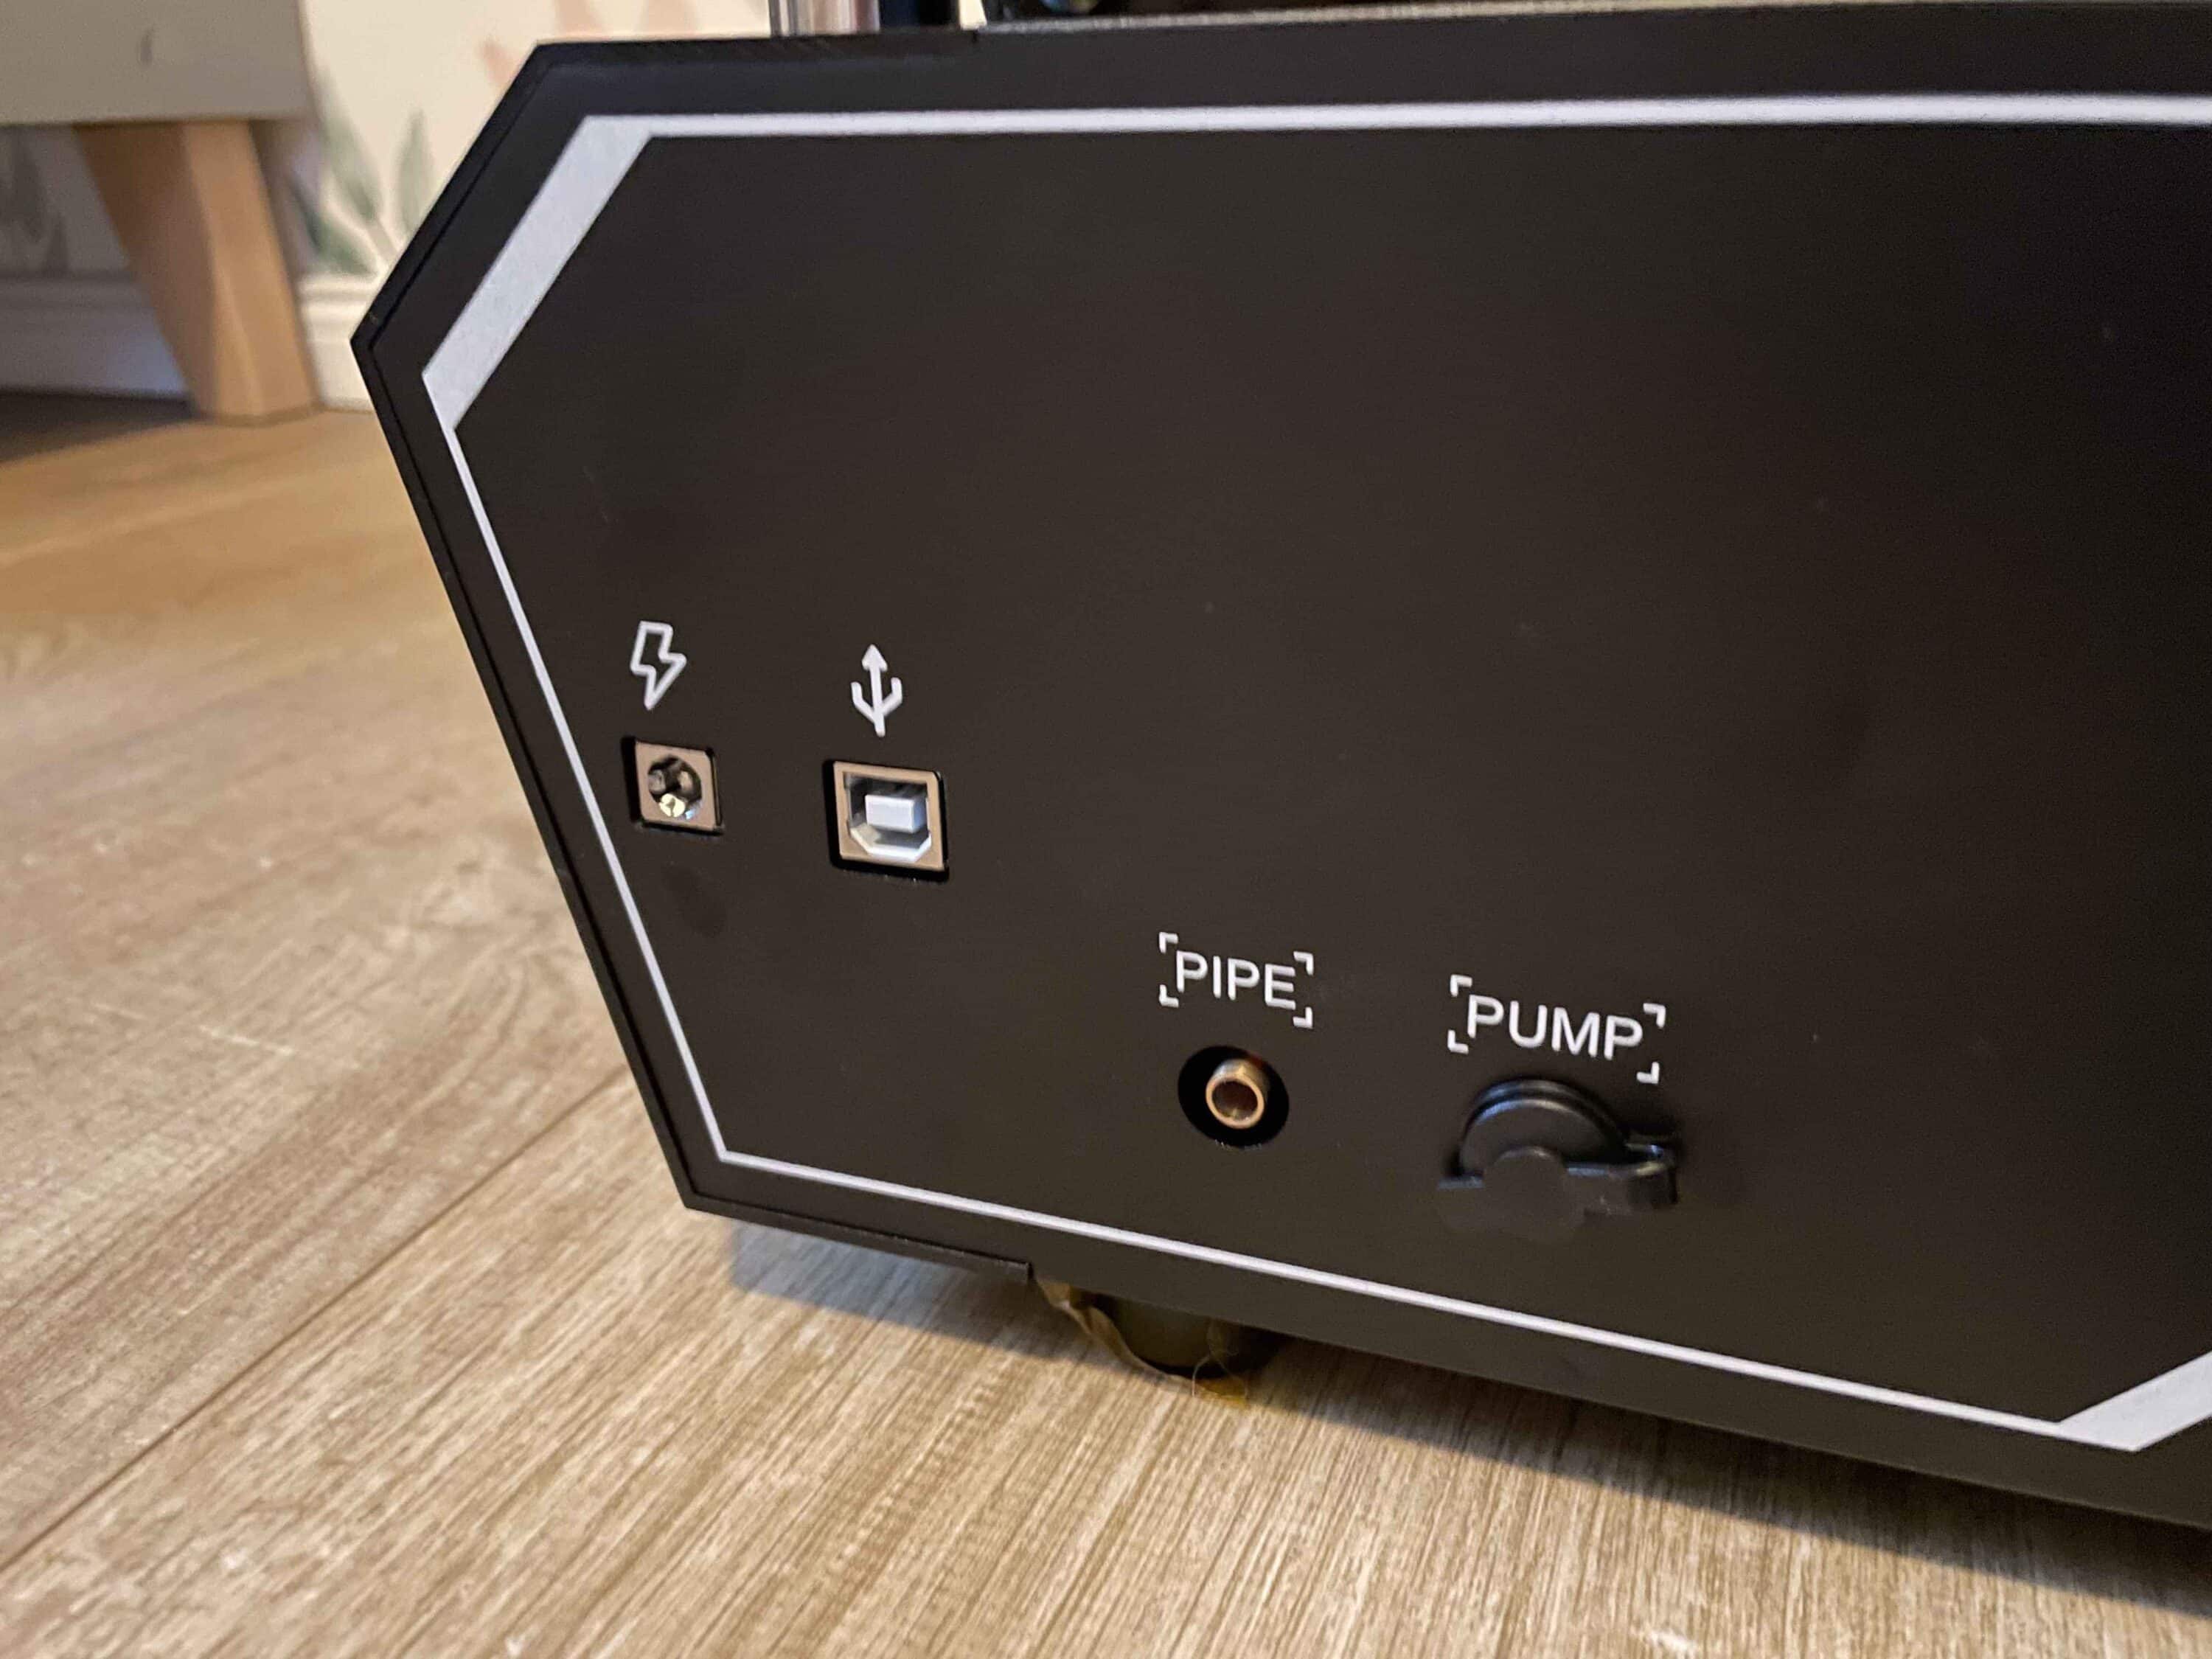
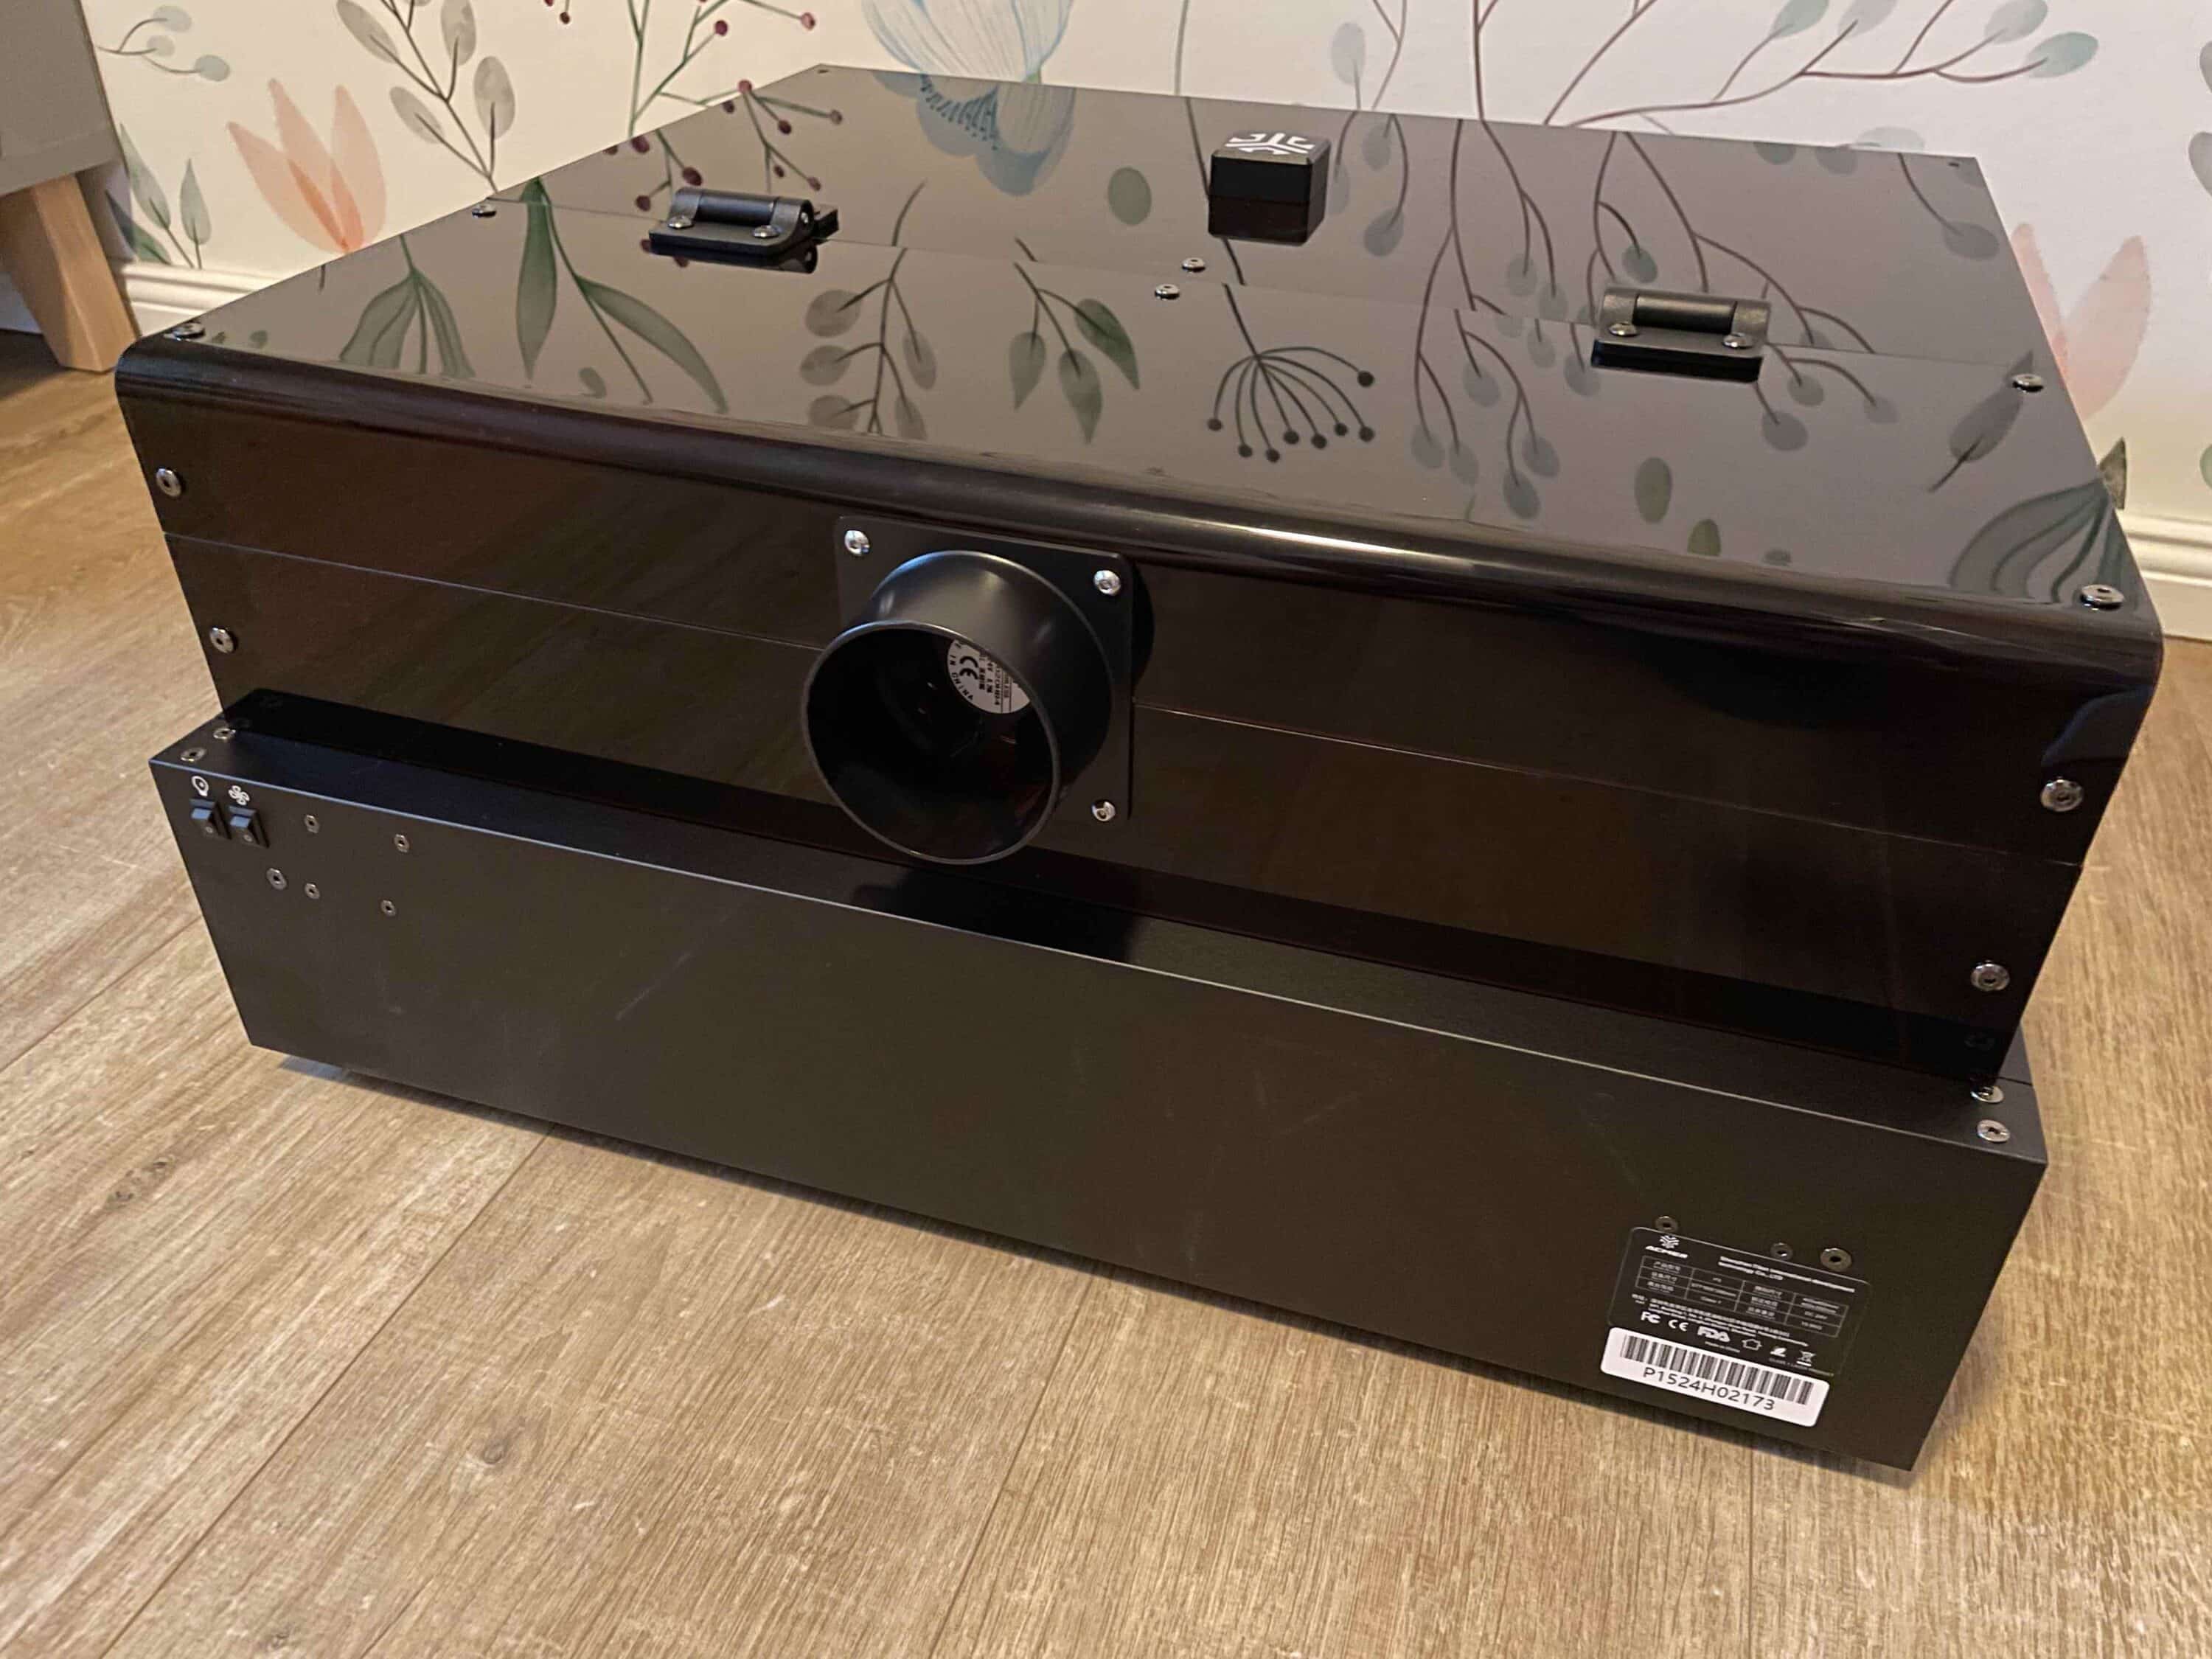
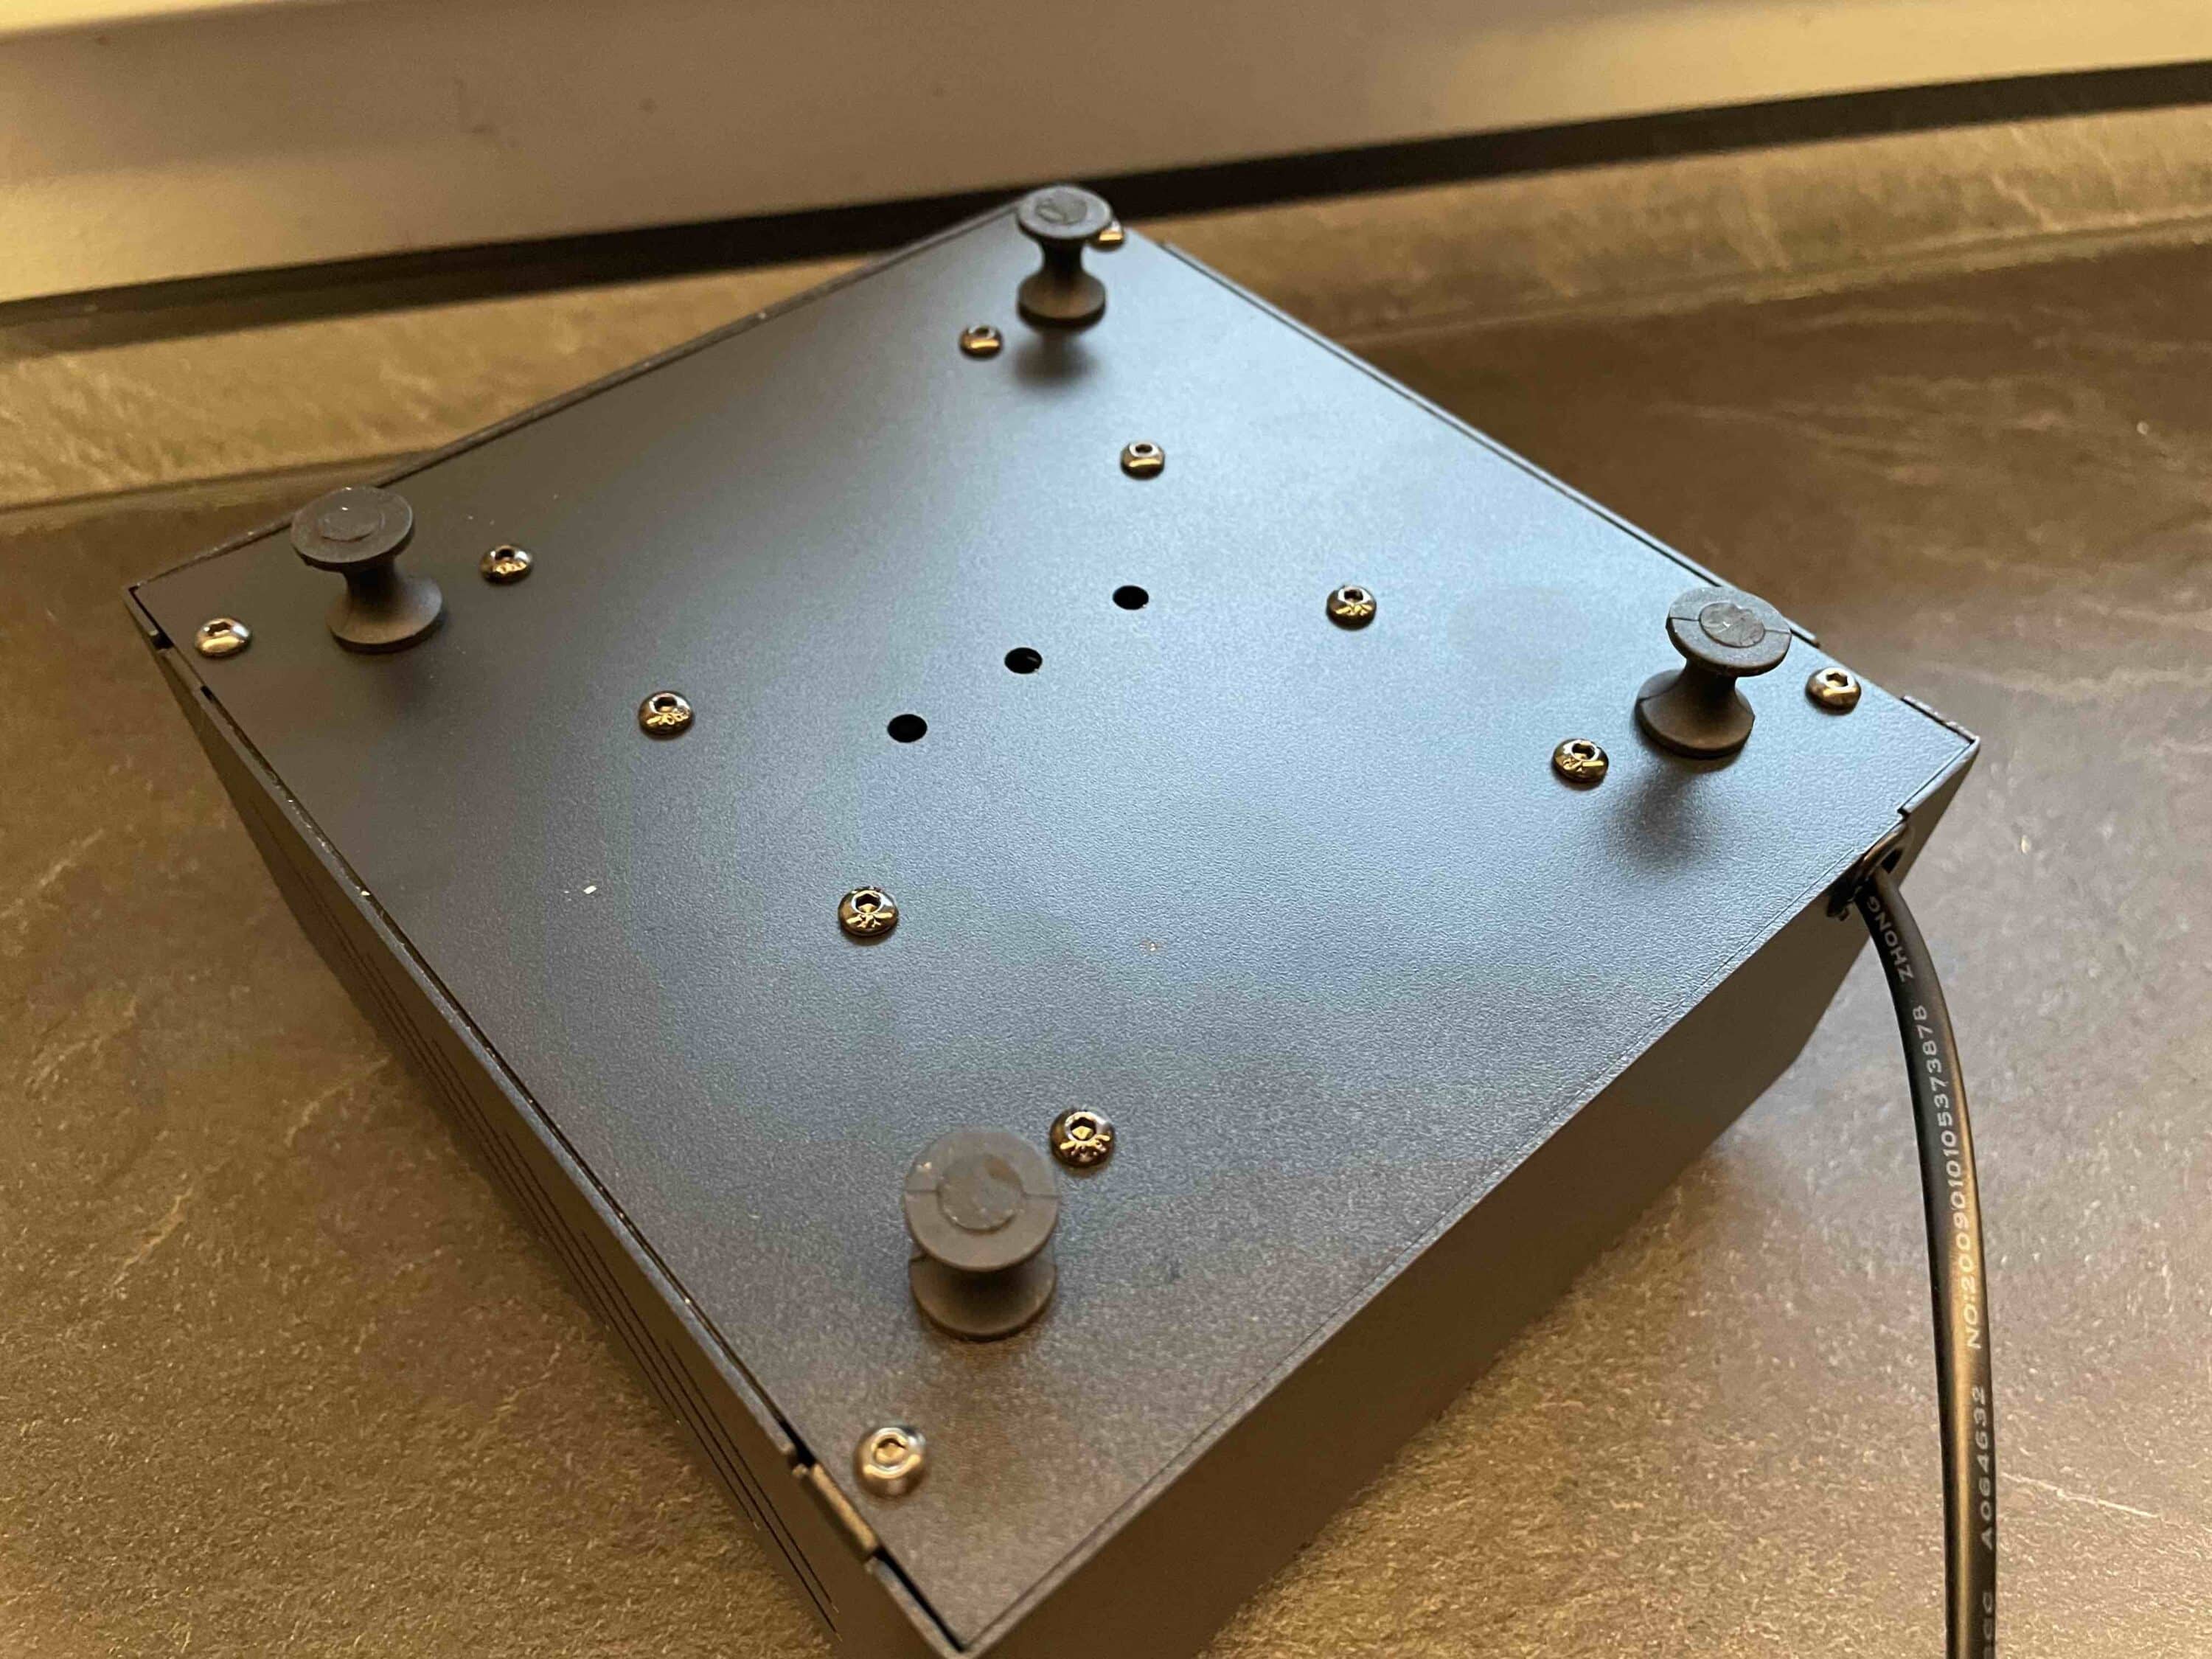
The Acmer P3 arrives at the factory almost completely assembled. Newcomers who have never handled a laser engraving machine before will be particularly pleased about this. It is then only up to you to do the little things, such as connecting the compressor, camera and exhaust hose. Once you have mounted the laser module, the high-quality craft machine is ready for use.
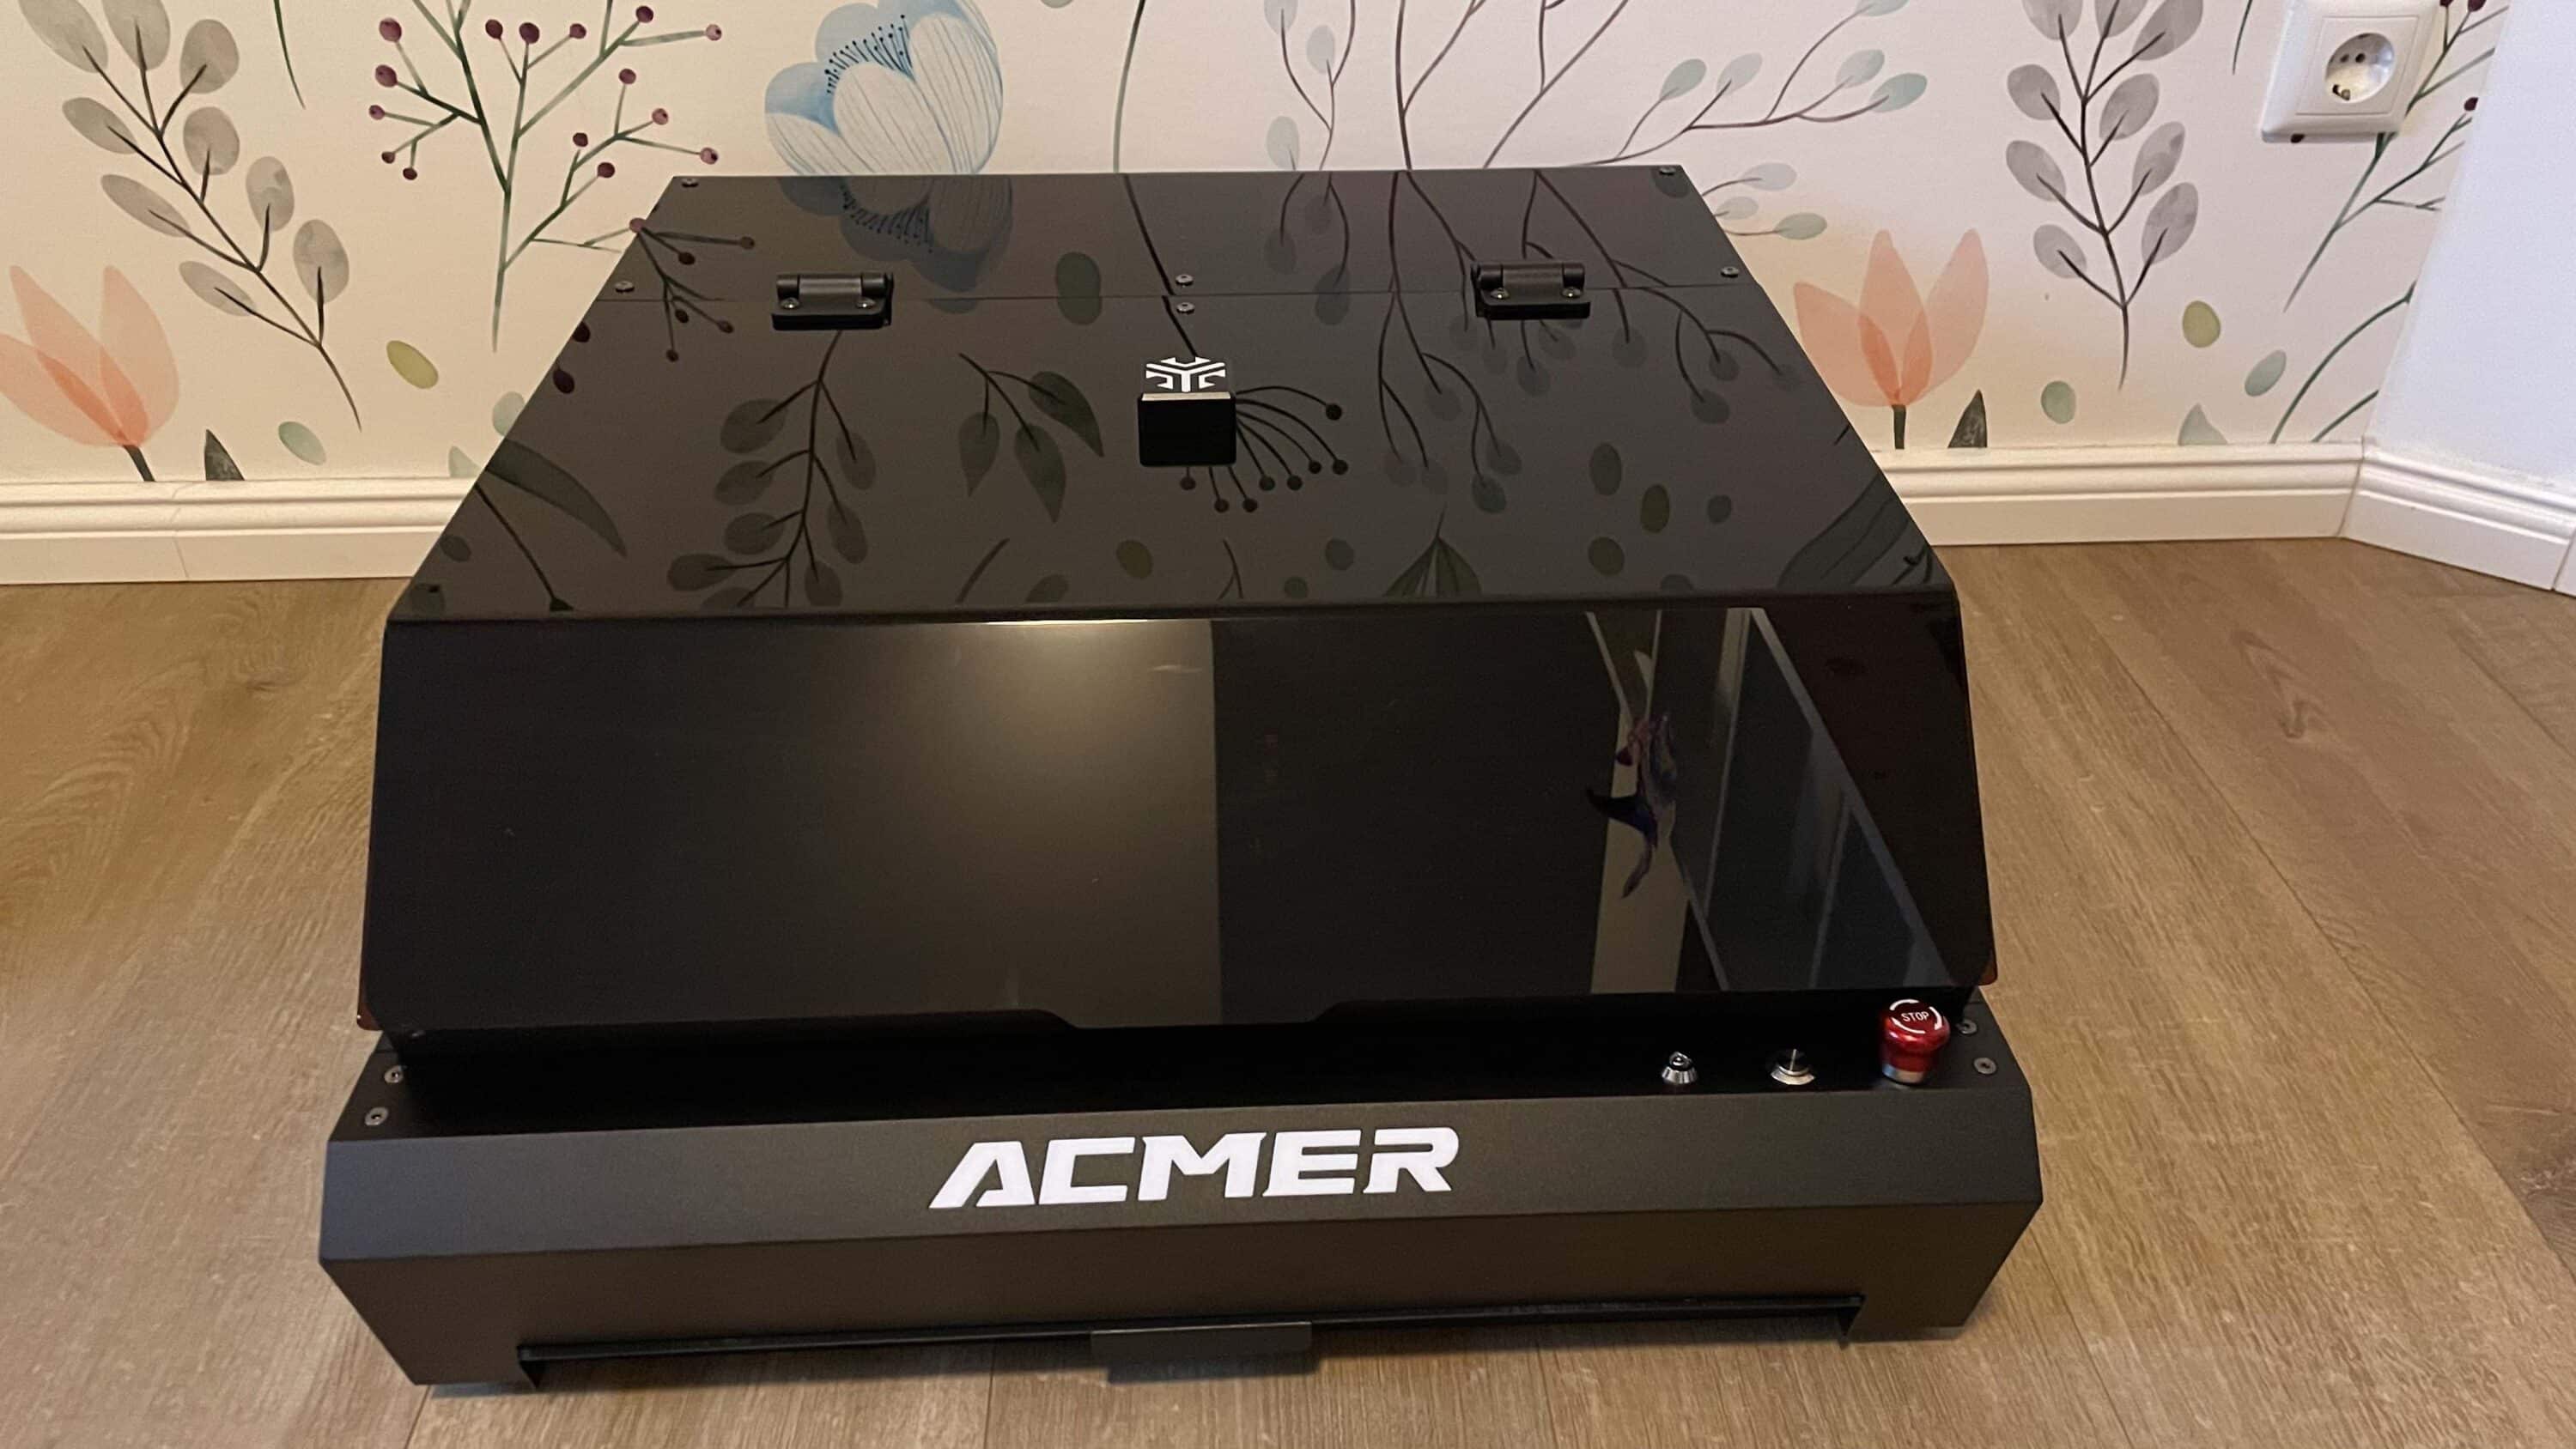
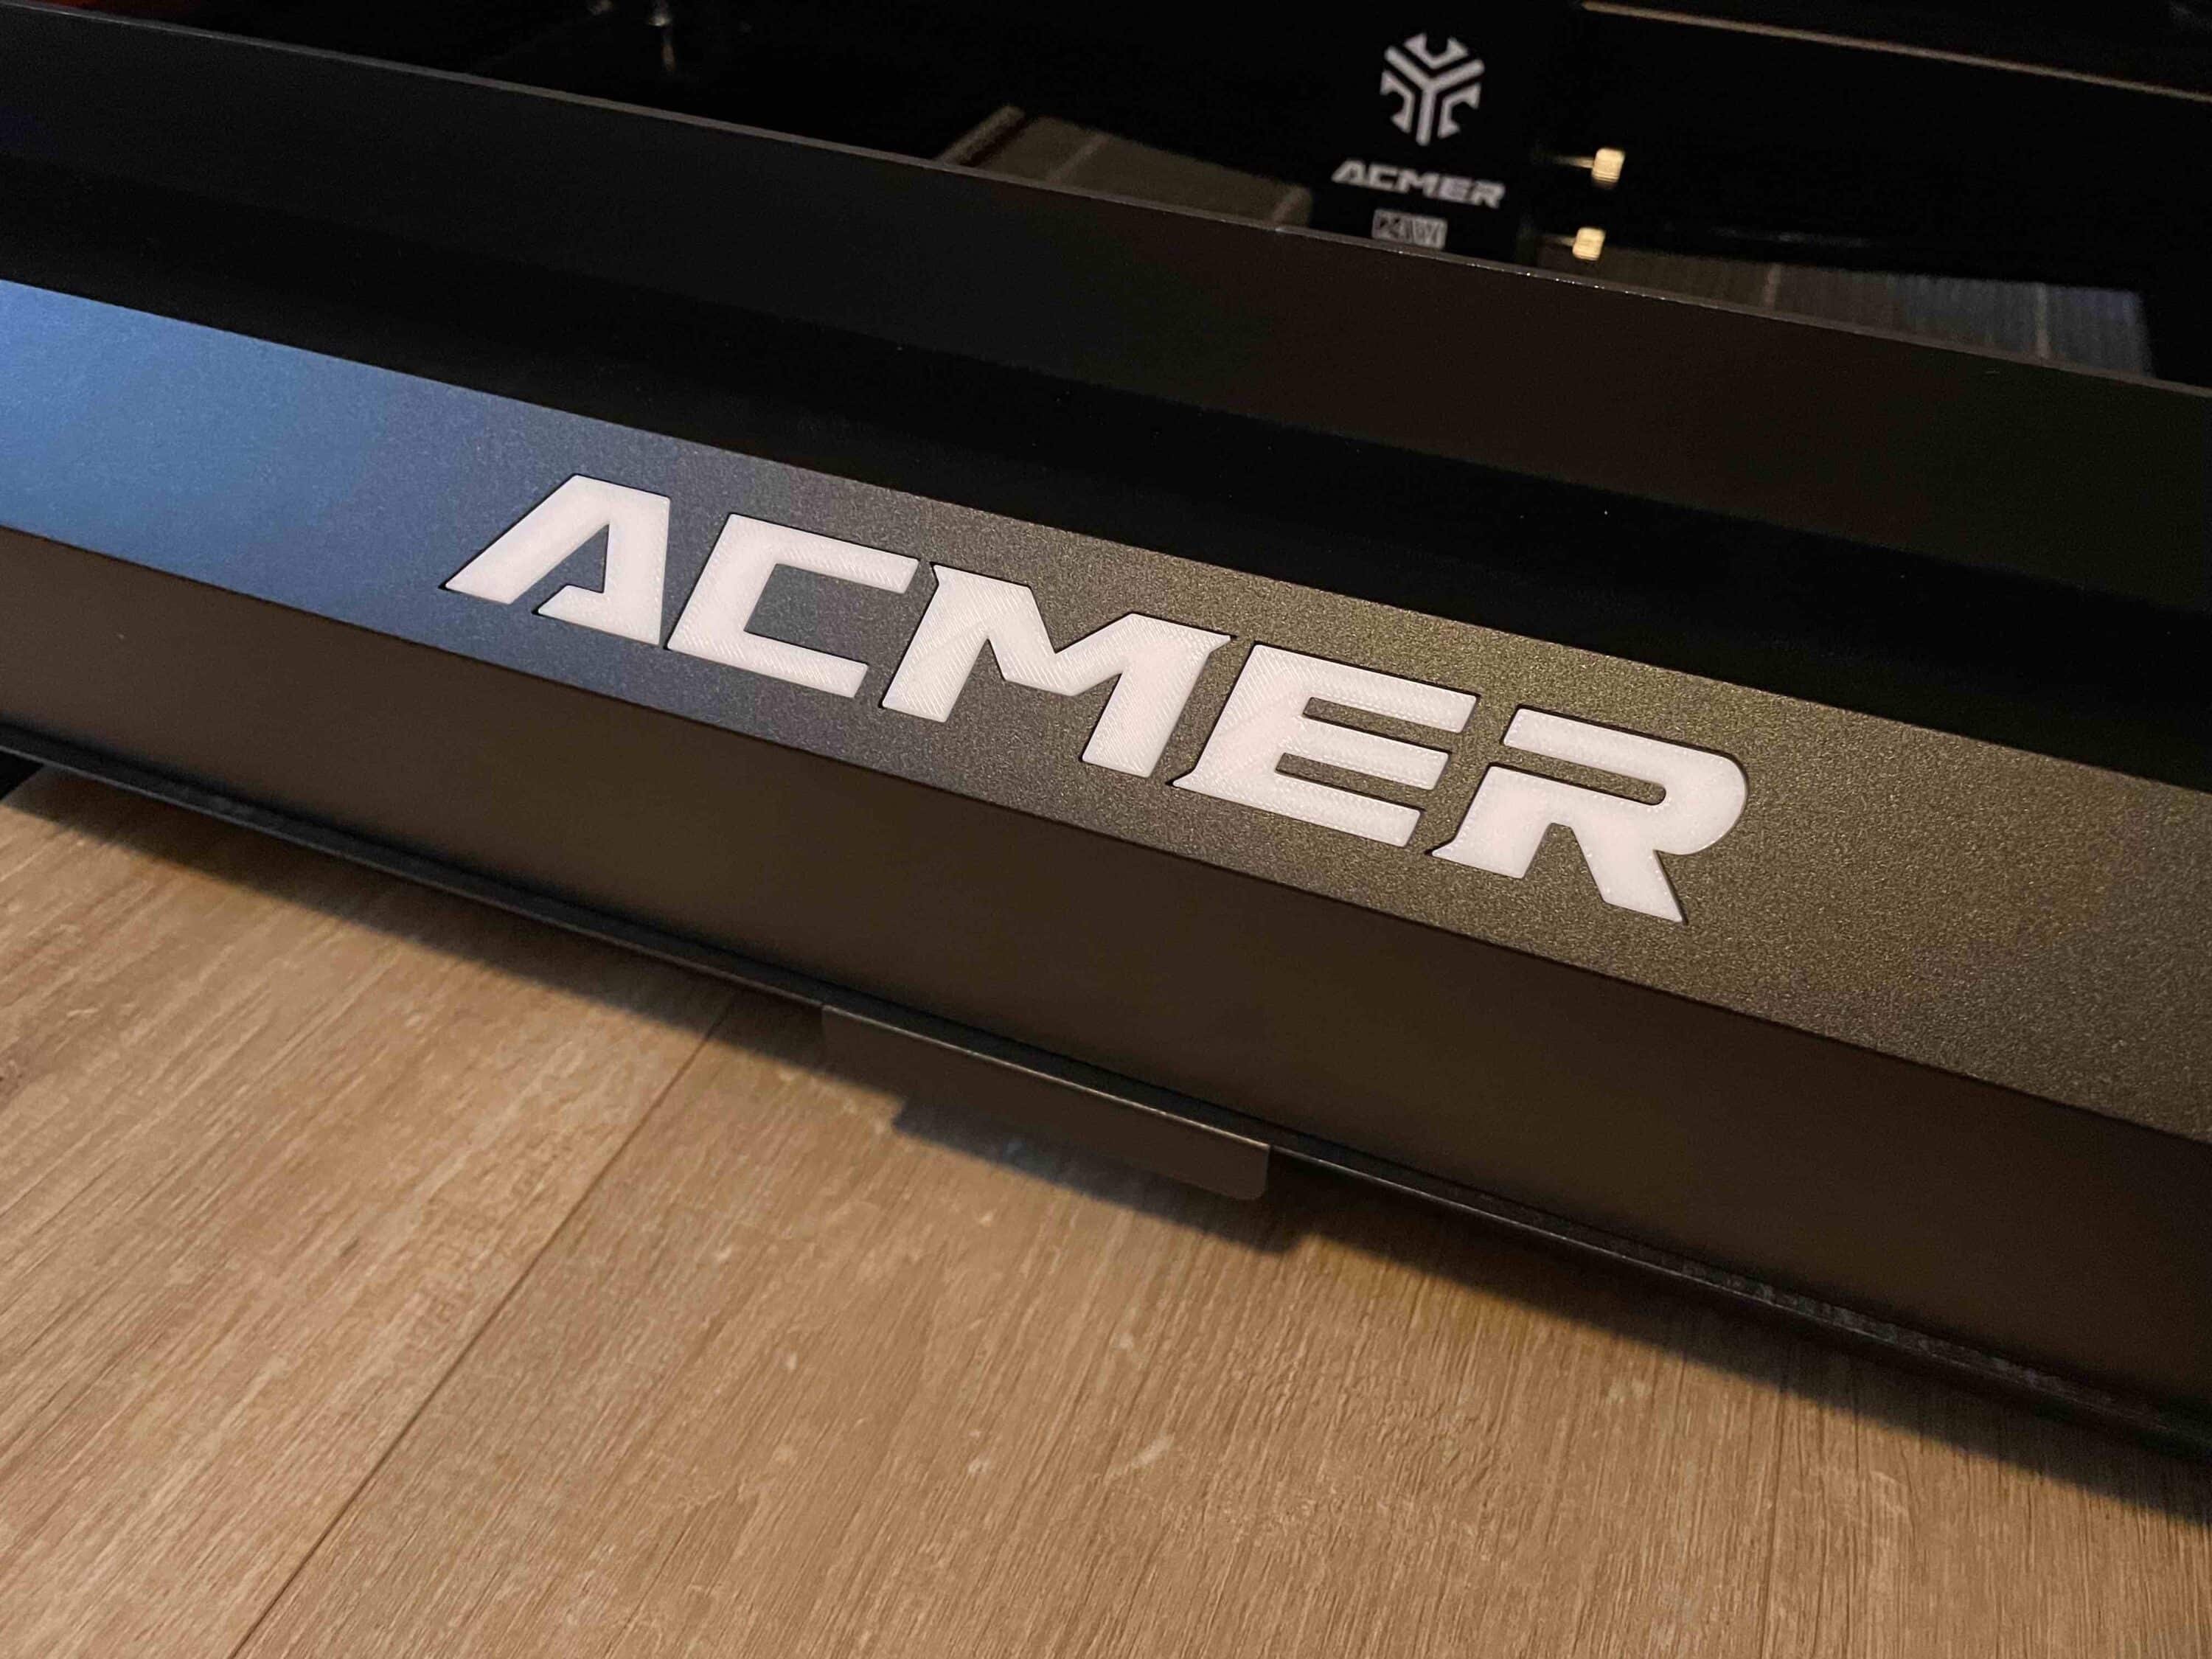
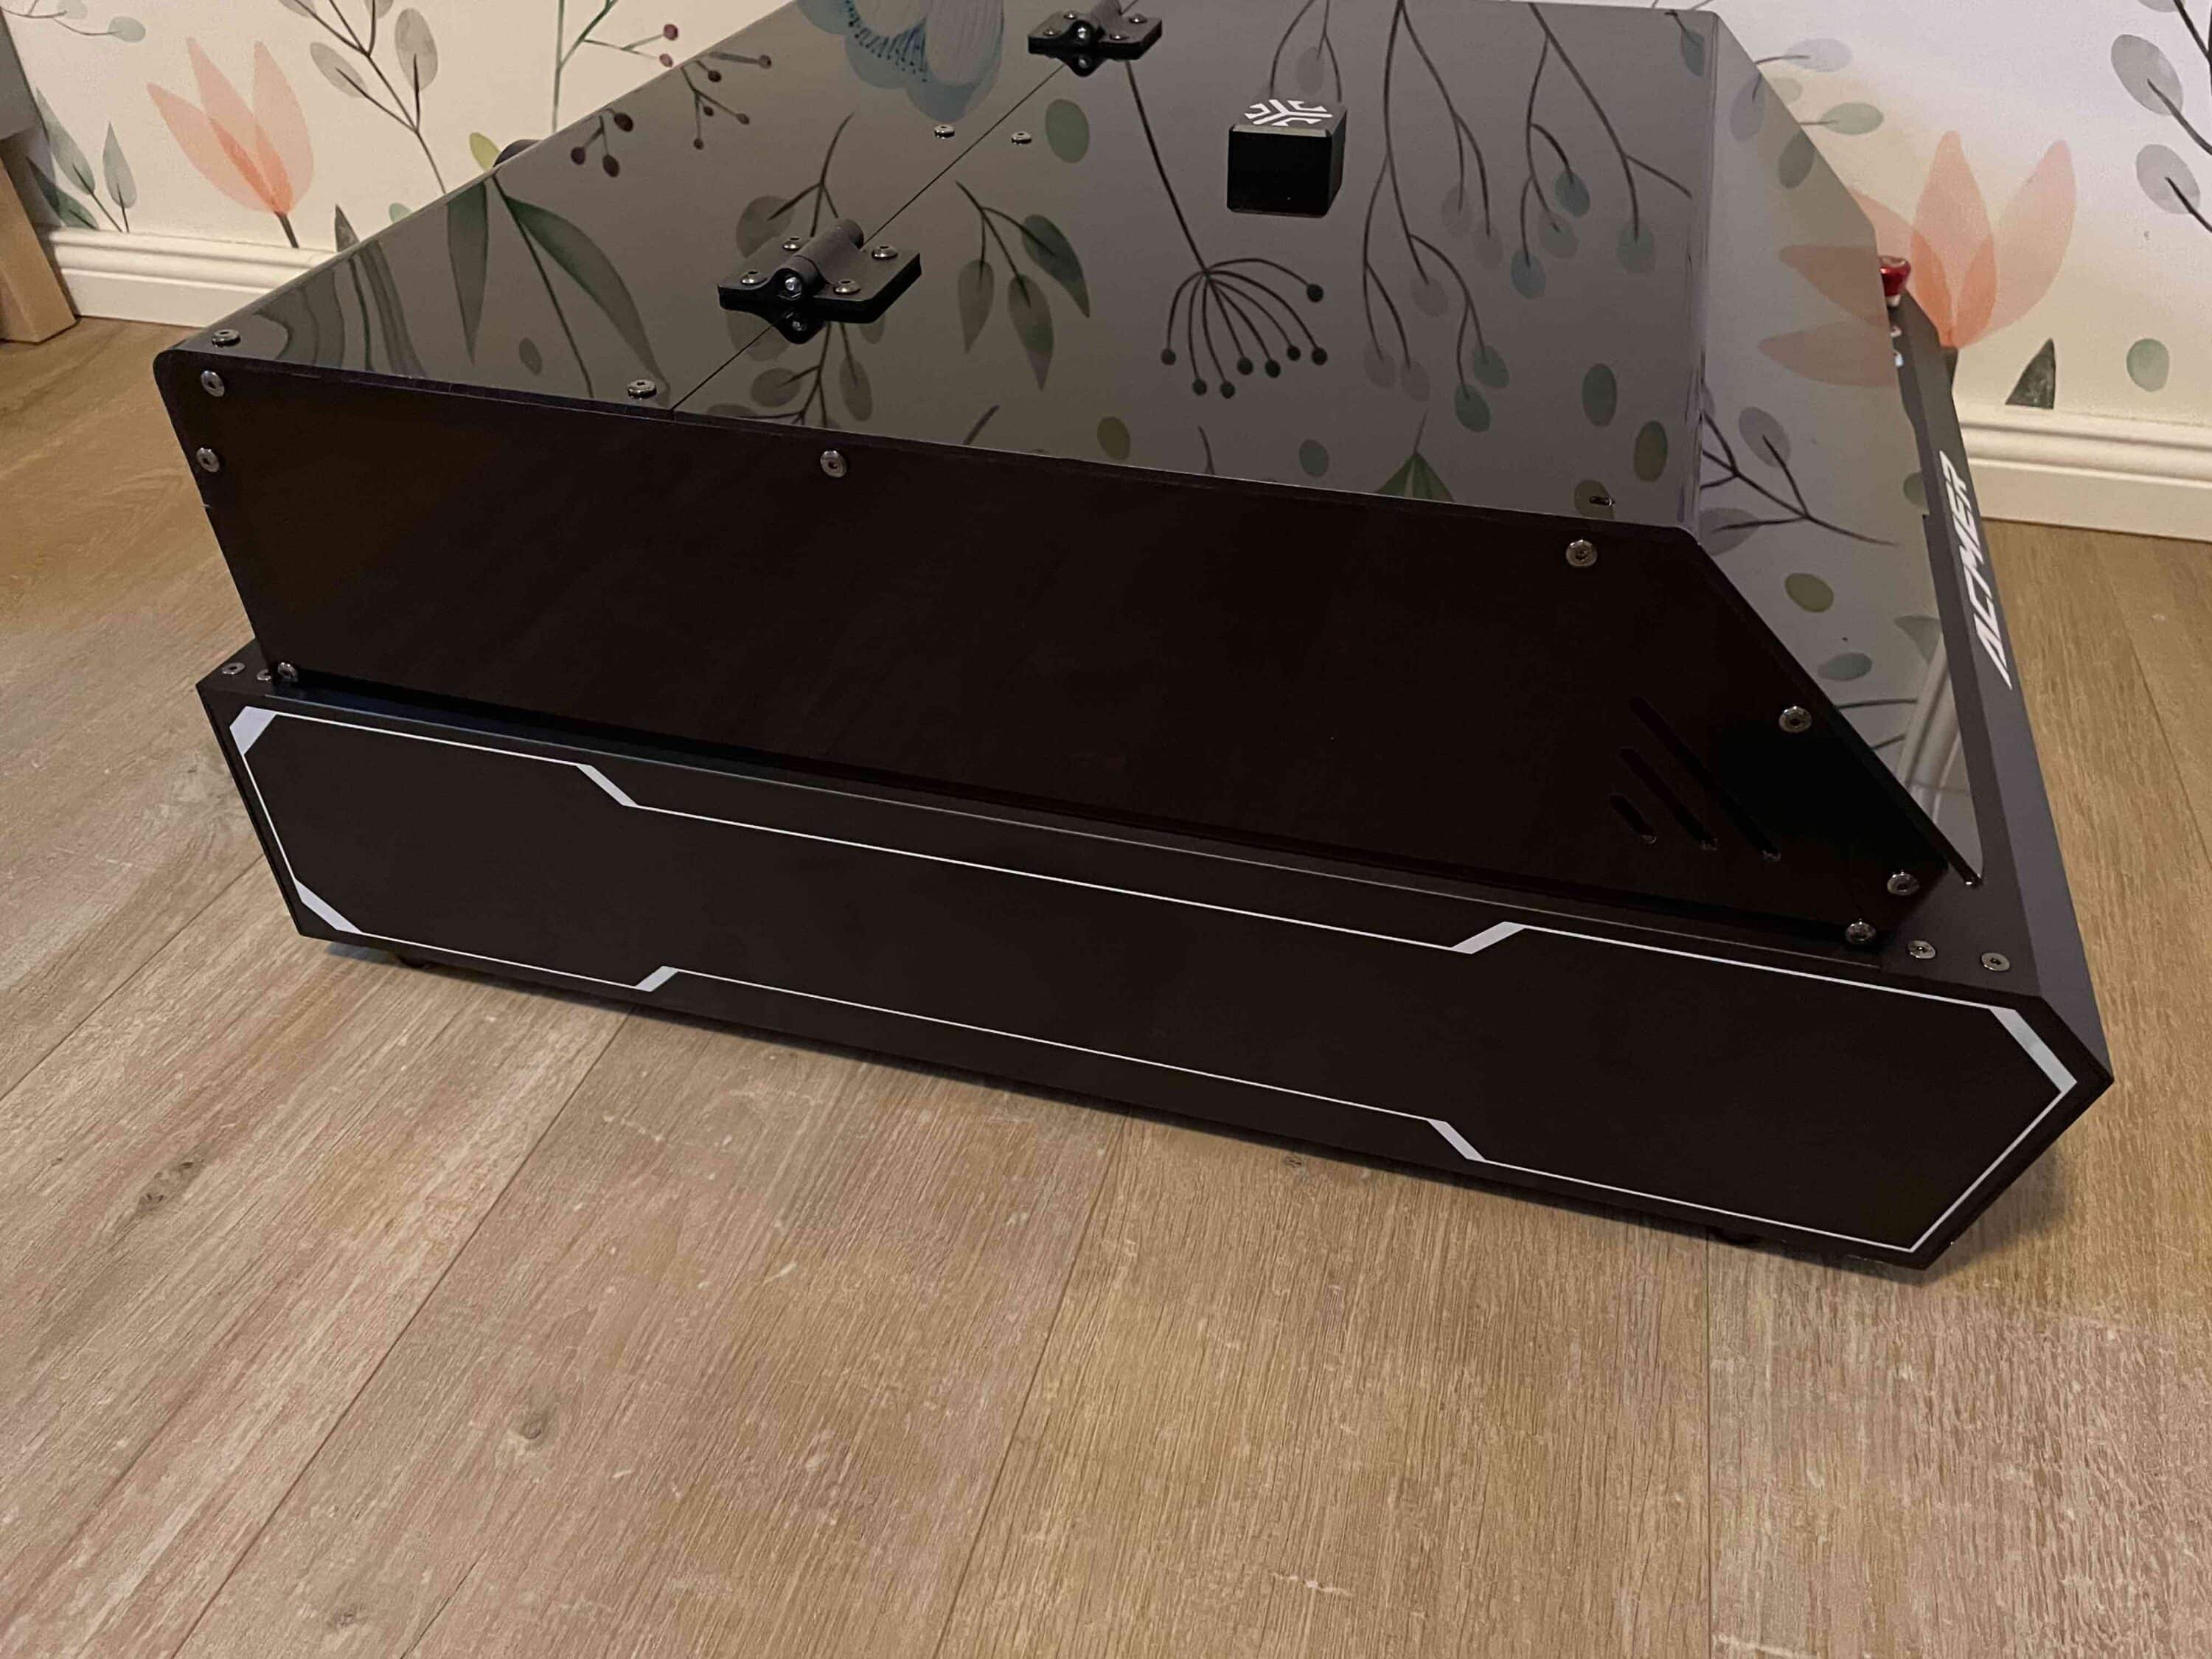
And when assembled, the machine is more than impressive. The Acmer P3 has a closed design. This not only ensures safety. It is also cool to look at thanks to the stylish interior lighting. Speaking of lighting. The front of the laser engraving machine features an eye-catching illuminated company logo that makes it clear who the laser is from.
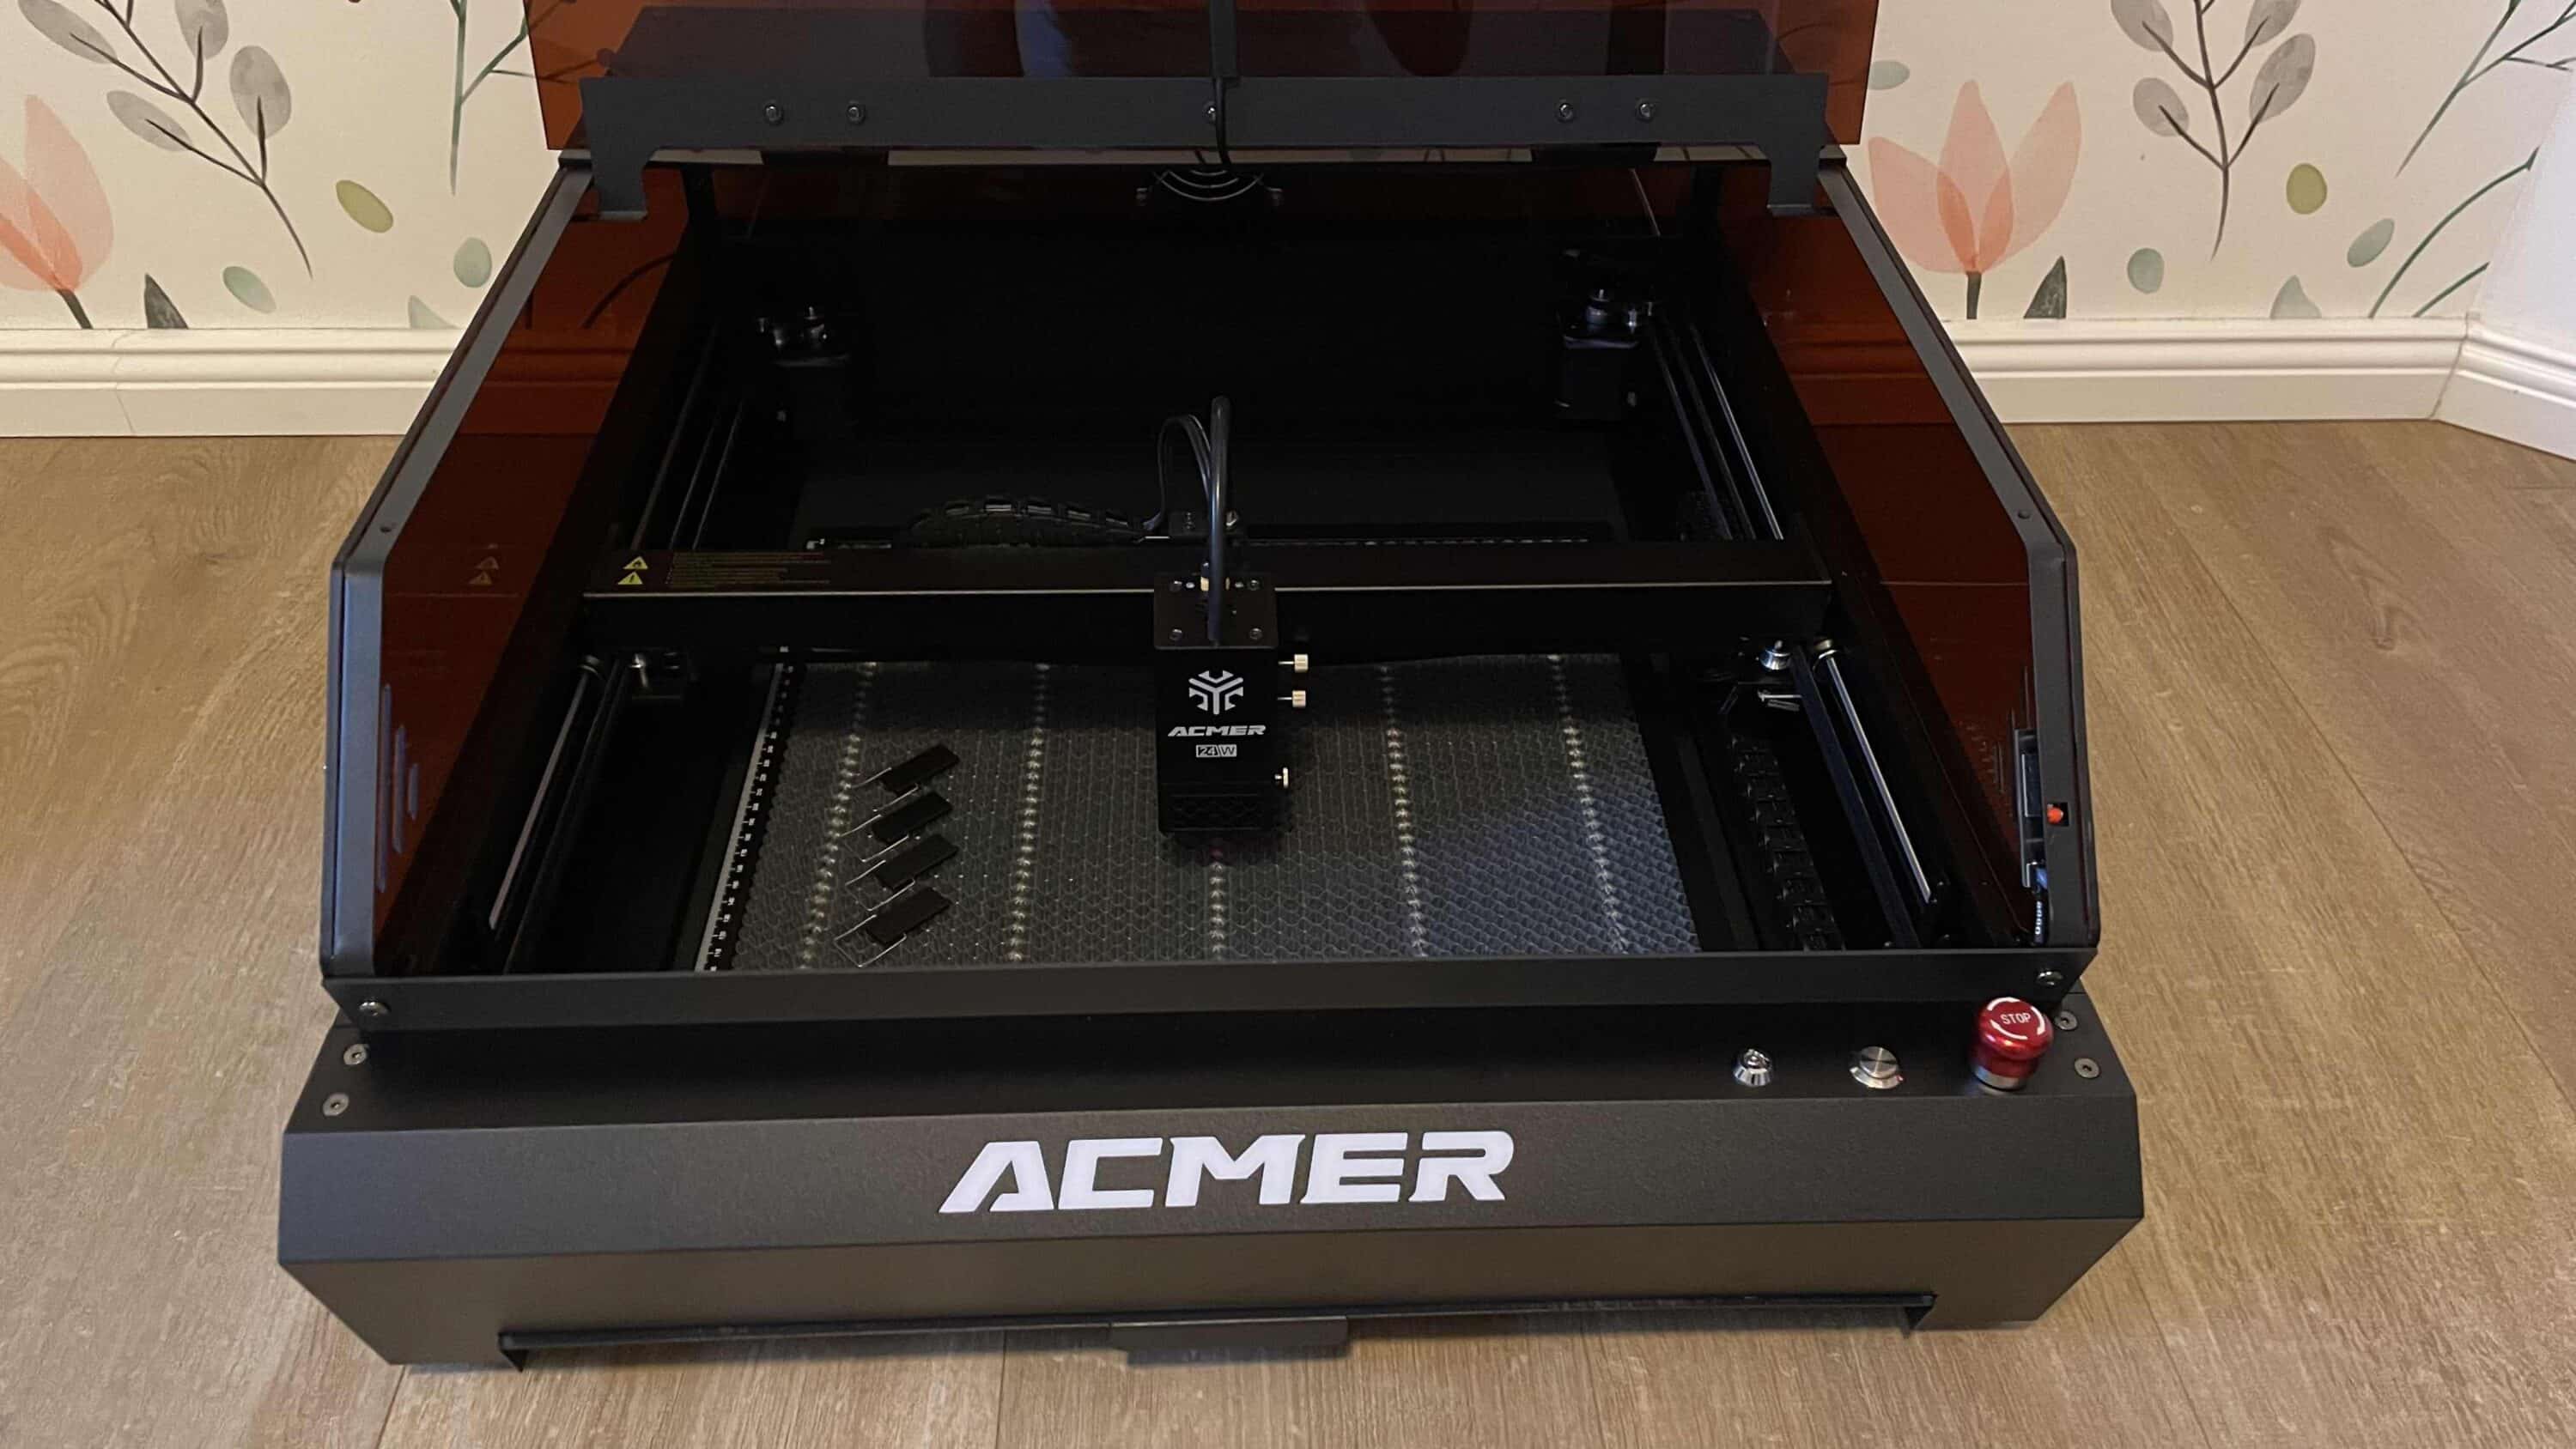
If you open the lid, you not only get to see the laser module, which is located on a pleasantly fast-moving carriage. You can also see the HD camera, which ensures uncomplicated calibration of the system for changing engraving or cutting work. There is also a honeycomb screen inside, which is very helpful for laser work.

The rest of the design is also great to look at. With its matt black housing and dark lid, the Acmer P3 differs significantly from other models of its size such as an xTool M1 Ultra (review, € 2,599.00 *) or a WeCreat Vision 20W (review, € 2199.00), which are significantly lighter. To be honest, I don’t care about the color itself.
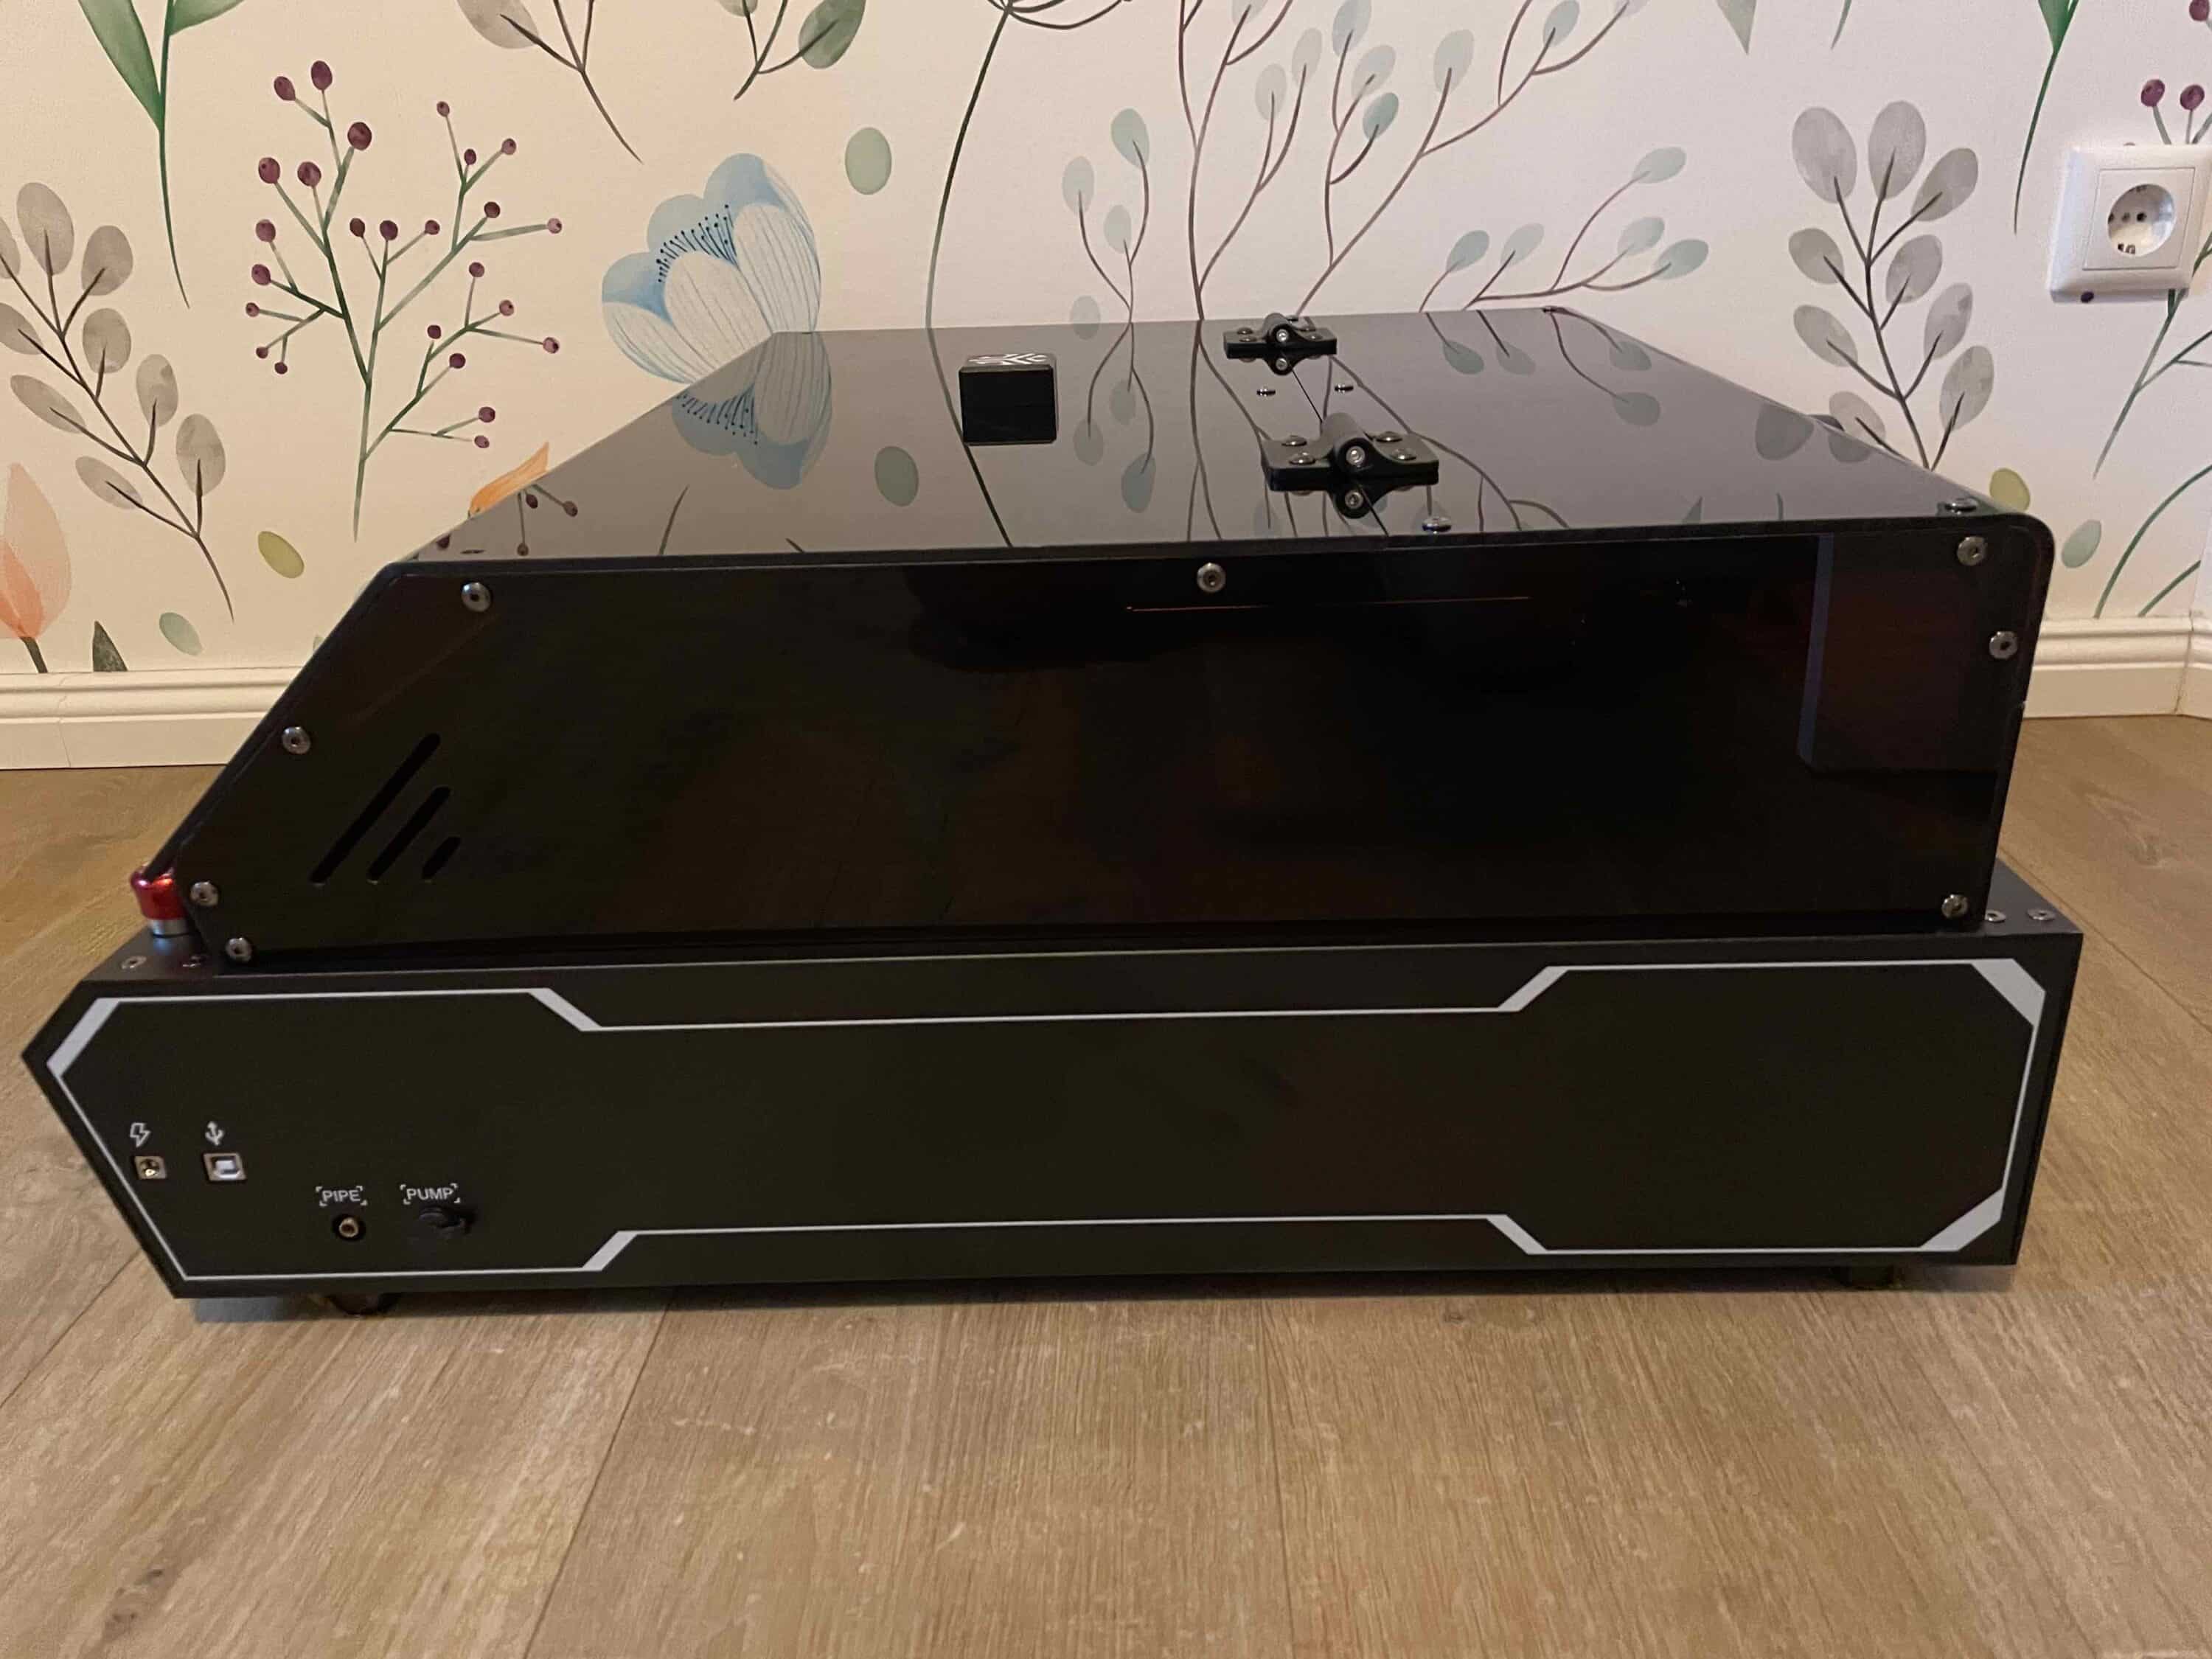
On the other hand, I think the matt surface is excellent, as fingerprints don’t stand a chance here. Unfortunately, this doesn’t apply to the acrylic lid, which I quickly found covered in fingerprints. If this bothers you, you’ll have to use a microfiber cloth from time to time. The choice of materials and the quality of workmanship of the laser engraving machine are also of a very high standard. It doesn’t crack or creak at any point.
Acmer P3 test: 4 laser modules ensure flexibility
You can buy the Acmer P3 in different versions. The models on offer differ in terms of their laser module. The cheapest model is the one with the 2 watt infrared laser. This is followed by the version with a 24 watt diode laser, which we were able to test. One of the most exciting and second most expensive is the model with a dual laser consisting of a 2 watt IR laser and a 10 watt diode laser. Here you can switch between the two laser types using a slider.

Last but not least, there is a version with a 48-watt diode laser for more demanding users. However, this freedom of choice can also pose a major problem, especially for newcomers. Which model should you choose? This is where the modular concept of the Acmer P3 comes into play. As the laser modules can be easily exchanged, you can simply buy another laser head if required. So you are equipped for all areas of application.

Finally, the different attachments also enable different types of work. The 2 watt IR laser, for example, is predestined for fine, detailed engravings on surfaces such as aluminum, slate or acrylic. However, if you want to cut through thick materials, more power is required. The best choice here is a 24 watt or even 48 watt diode laser. You can even cut 45 mm thick acrylic with this.
Acmer P3 test: Class 1 safety ensures protection
Of course, safety also plays a major role with laser engraving machines. After all, you should not forget that lasers can cause a lot of damage if they are not used properly and in accordance with regulations. This makes it all the more important for the manufacturer to take extensive safety precautions. The Acmer P3 is exemplary in this respect.

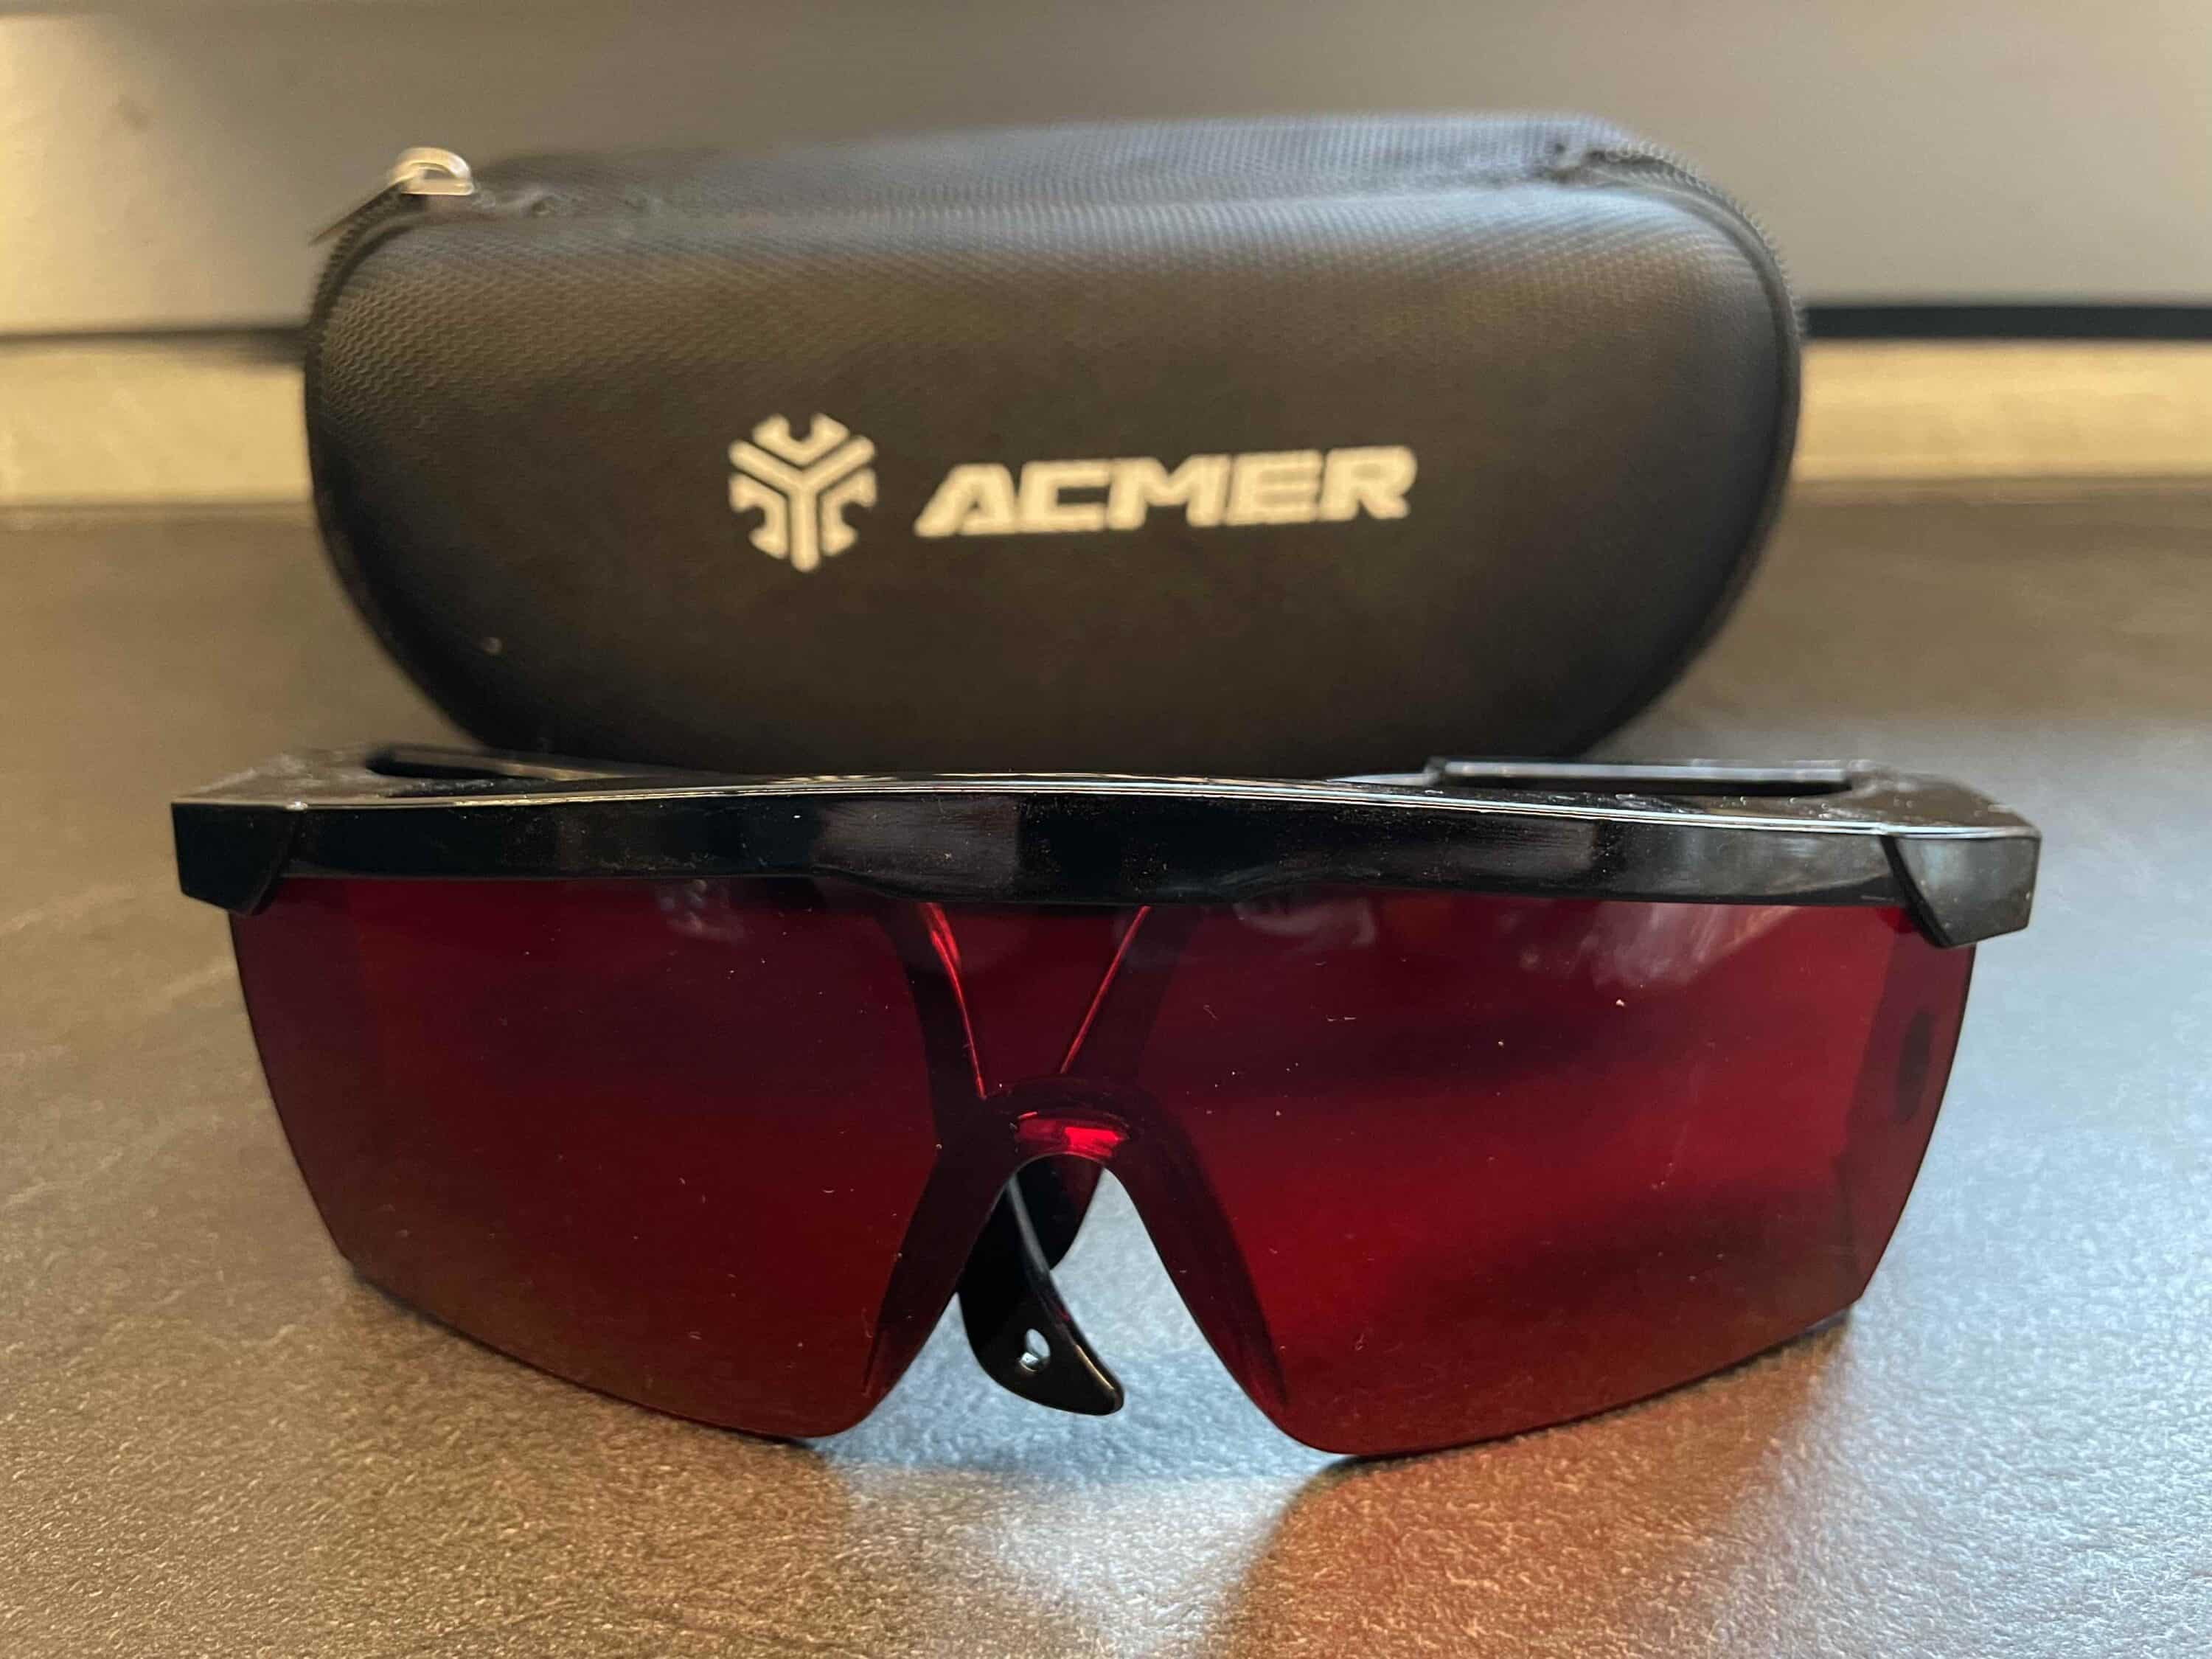
Firstly, there is the closed design. In contrast to other laser engraving machines such as the AUFERO LASER 2 (review, € 269.99 *) or the iKier K1 Pro Max (review, Price not available *), the Acmer P3 relies on a closed design. Thanks to the lid, the laser cutting and engraving work always takes place in the protected interior. To be on the safe side, you should still wear the enclosed safety goggles.
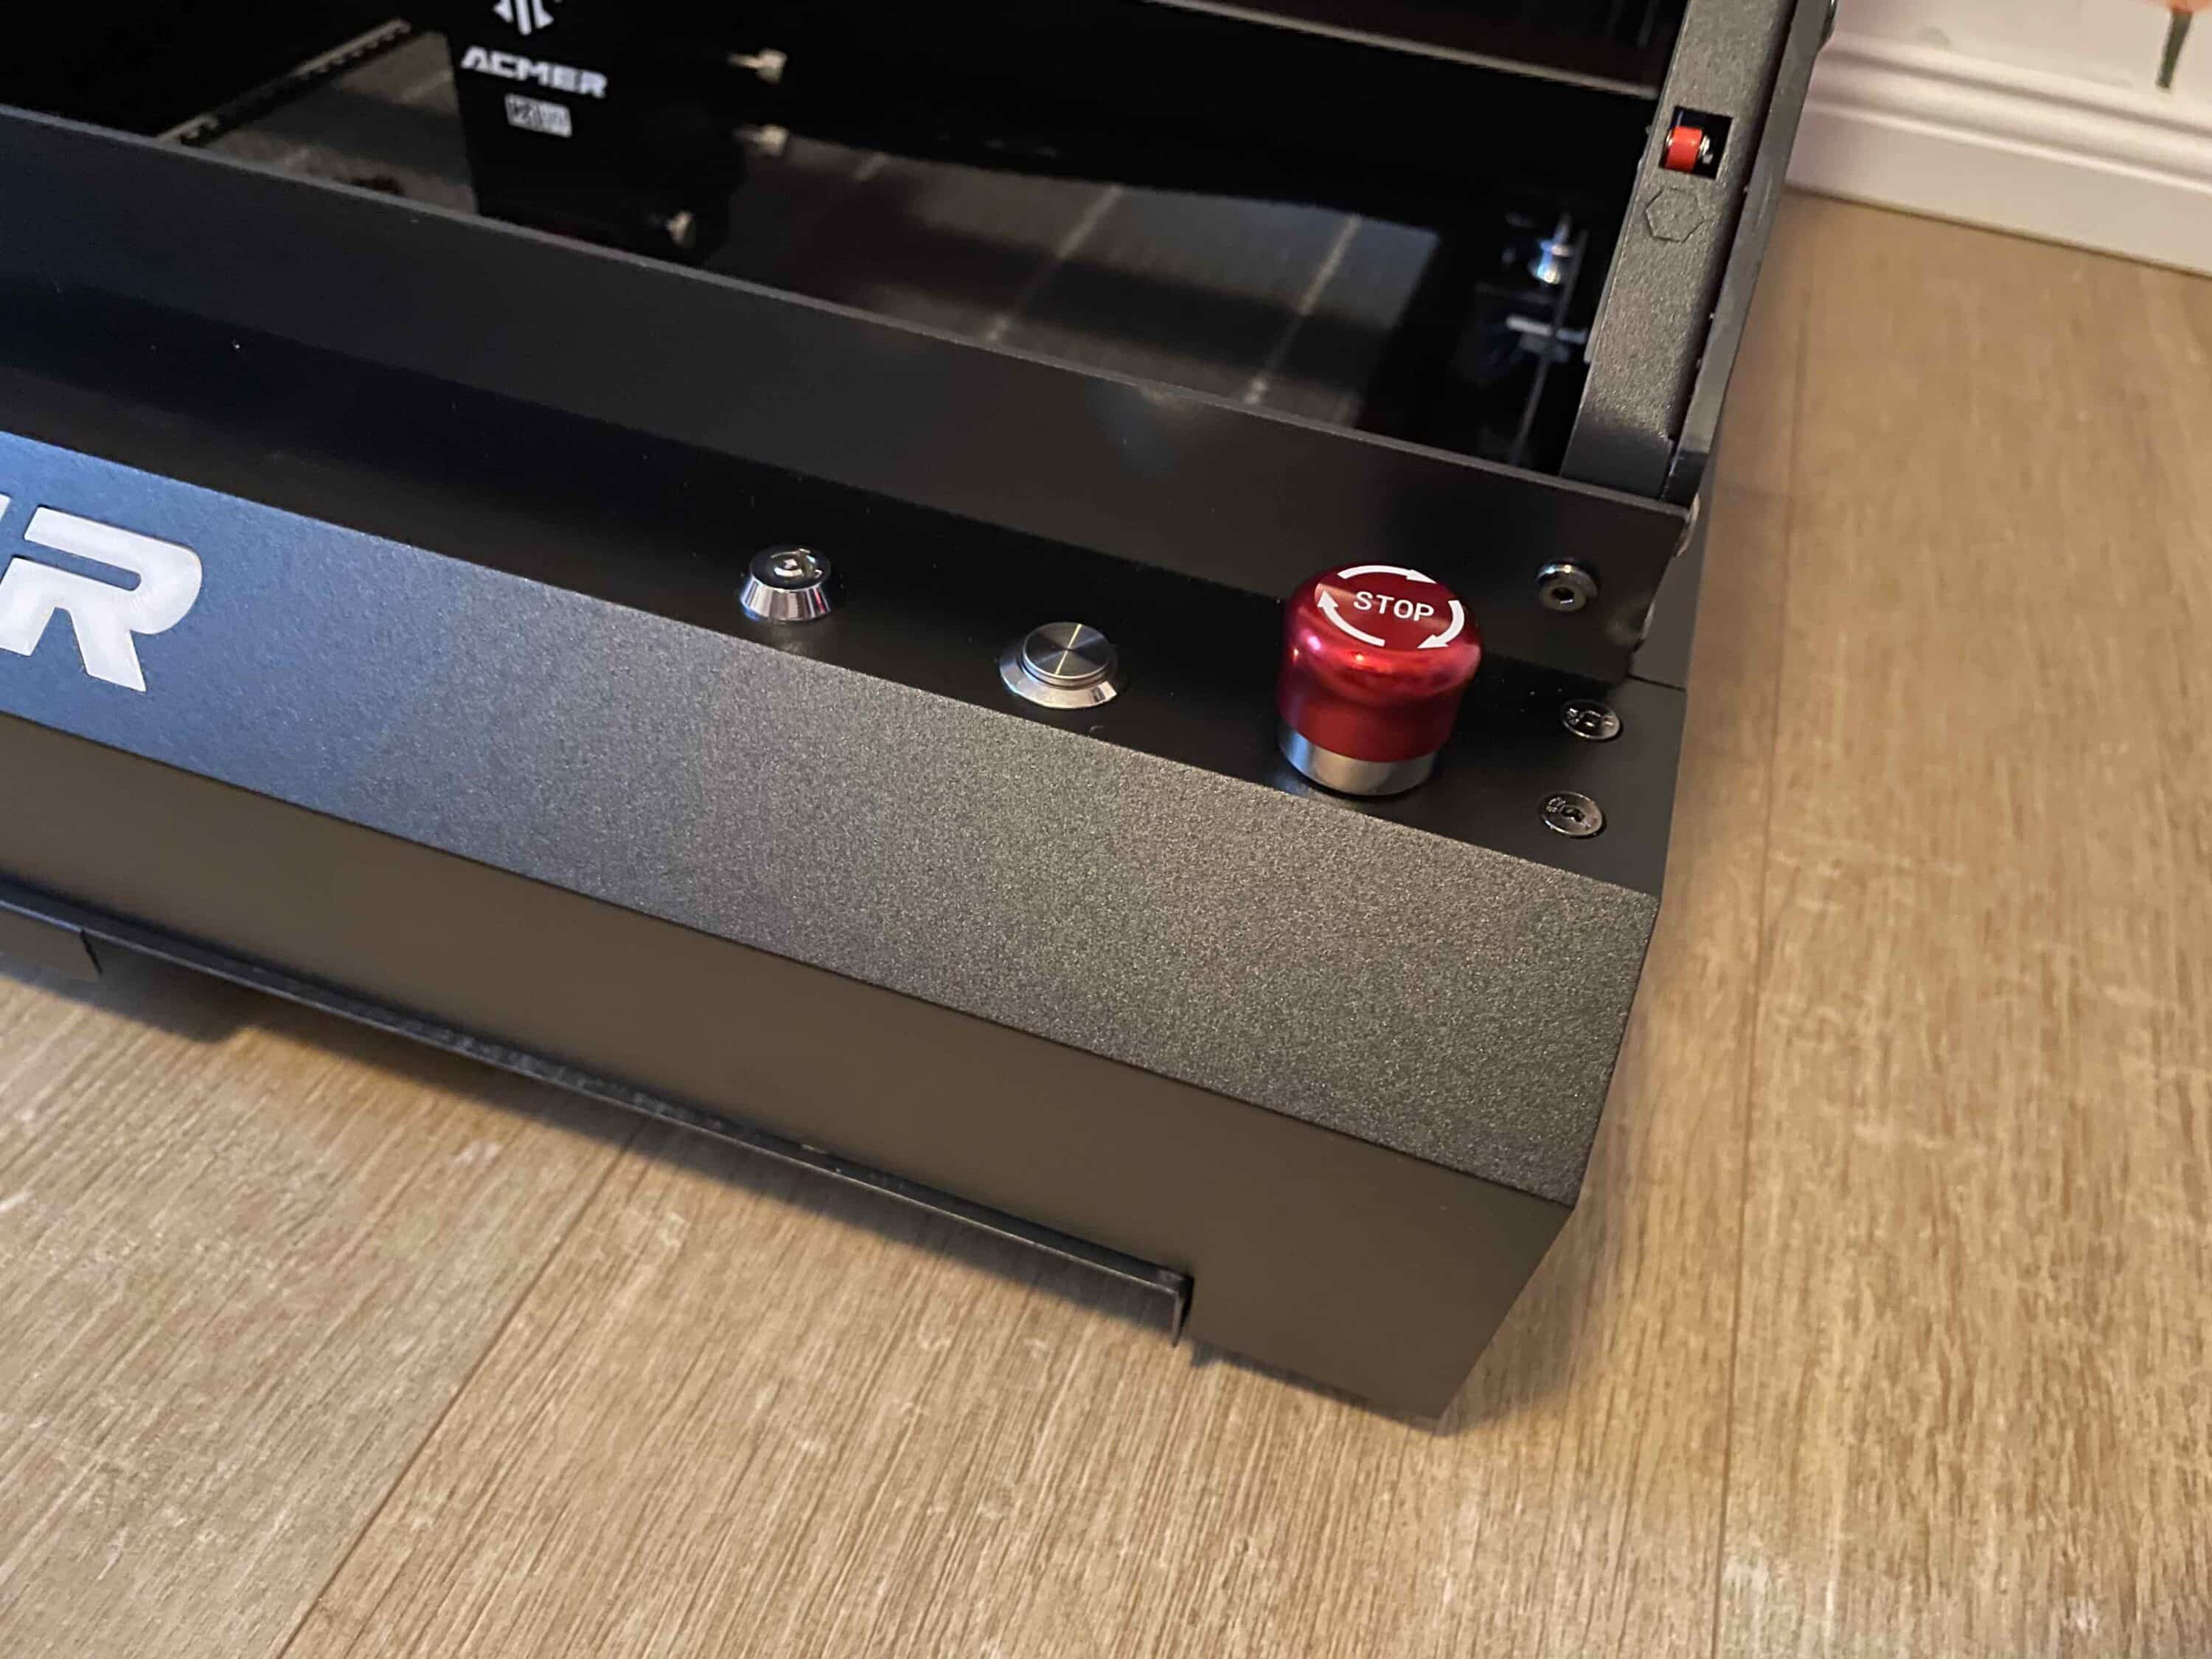
If you open the lid during operation, the device pauses fully automatically. Conversely, it automatically resumes its work when you close the lid again. The engraving machine also has a fall protection system. If, for whatever reason, it tips over, gyro sensors register the whole thing and stop the laser immediately. Apart from the automatic safety mechanisms, you can of course also intervene yourself at any time.
Among other things, you can use the striking red emergency stop button on the front. You should always stand close to the laser when it is working so that you can intervene in an emergency. To prevent your offspring or other unwanted users from playing with the laser, you can also use the enclosed key to lock the device. Together, these precautions ensure that you can use the Acmer P3 without worrying.
Acmer P3 test: Setup and commissioning
Before I got to work, I first took a look at the practical list of instructions for the Acmer P3. Here, newcomers can find out which laser is suitable for which material. This is extremely helpful for getting started! Setting up the Acmer P3 was quite time-consuming for me as a newcomer. This is by no means because you have to plan a lot of time to assemble the device.

All you have to do is turn a few screws and fit a few hoses, which is why the installation itself is over in just under 20 minutes. In this respect, we have to praise the wonderfully illustrated assembly instructions. On the contrary, it took me some time to familiarize myself with the Lightburn program. On top of that, it took me quite a long time to calibrate the camera.

You always have to place the enclosed wooden disk with printed circles in the specified positions. In the test, this worked quite well up to a certain point. At a certain position, however, the camera simply no longer wanted to recognize the dot target. In the end, I was unable to complete the calibration satisfactorily.

After the test, we were able to contact Acmer again about the time-consuming calibration. Apparently, the light from the LED strip reflected so strongly that the camera could no longer recognize the circular imprints on the wooden panel. To prevent this, a simple piece of cardboard or another piece of non-reflective material under the wooden disk should suffice.
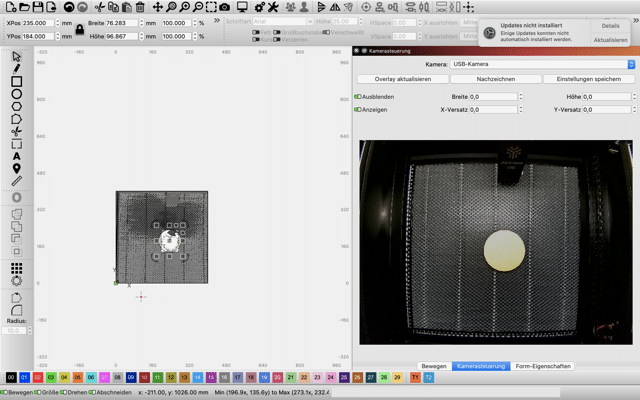
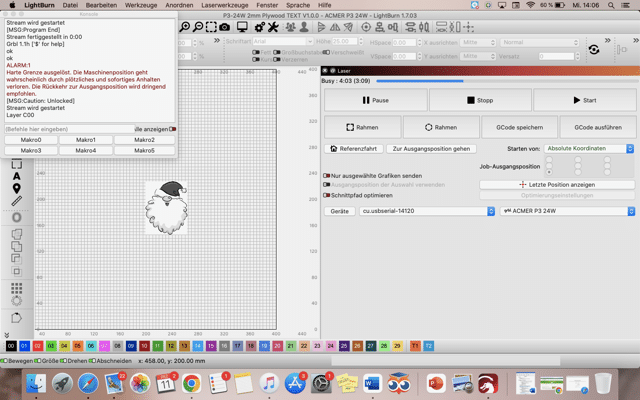

But even without calibration, it cut a good figure in the test. With the help of the included memory card, Lightburn receives the most important technical data of the laser directly. This at least saves you the hassle of typing and readjusting fine details. However, the professionals and ambitious amateur laser users among you can of course do this.
Acmer P3 test: Practical test
In the practical test, I directly engraved the surfaces that were included in the scope of delivery as a sample. The built-in camera is of course really practical. As with an xTool S1 (review, € 2,599.99 *), it allows you to keep an eye on the 400 x 400 mm working area and conveniently select the surface to be processed on the computer.

This is extremely convenient as it allows you to avoid tedious preparatory work where you have to adjust the work area in detail. Even as a layman in the field of laser engraving machines, I can say that I was pleasantly surprised by the results. You really do get extremely fine and high-contrast engravings here. The working speed is also impressive.

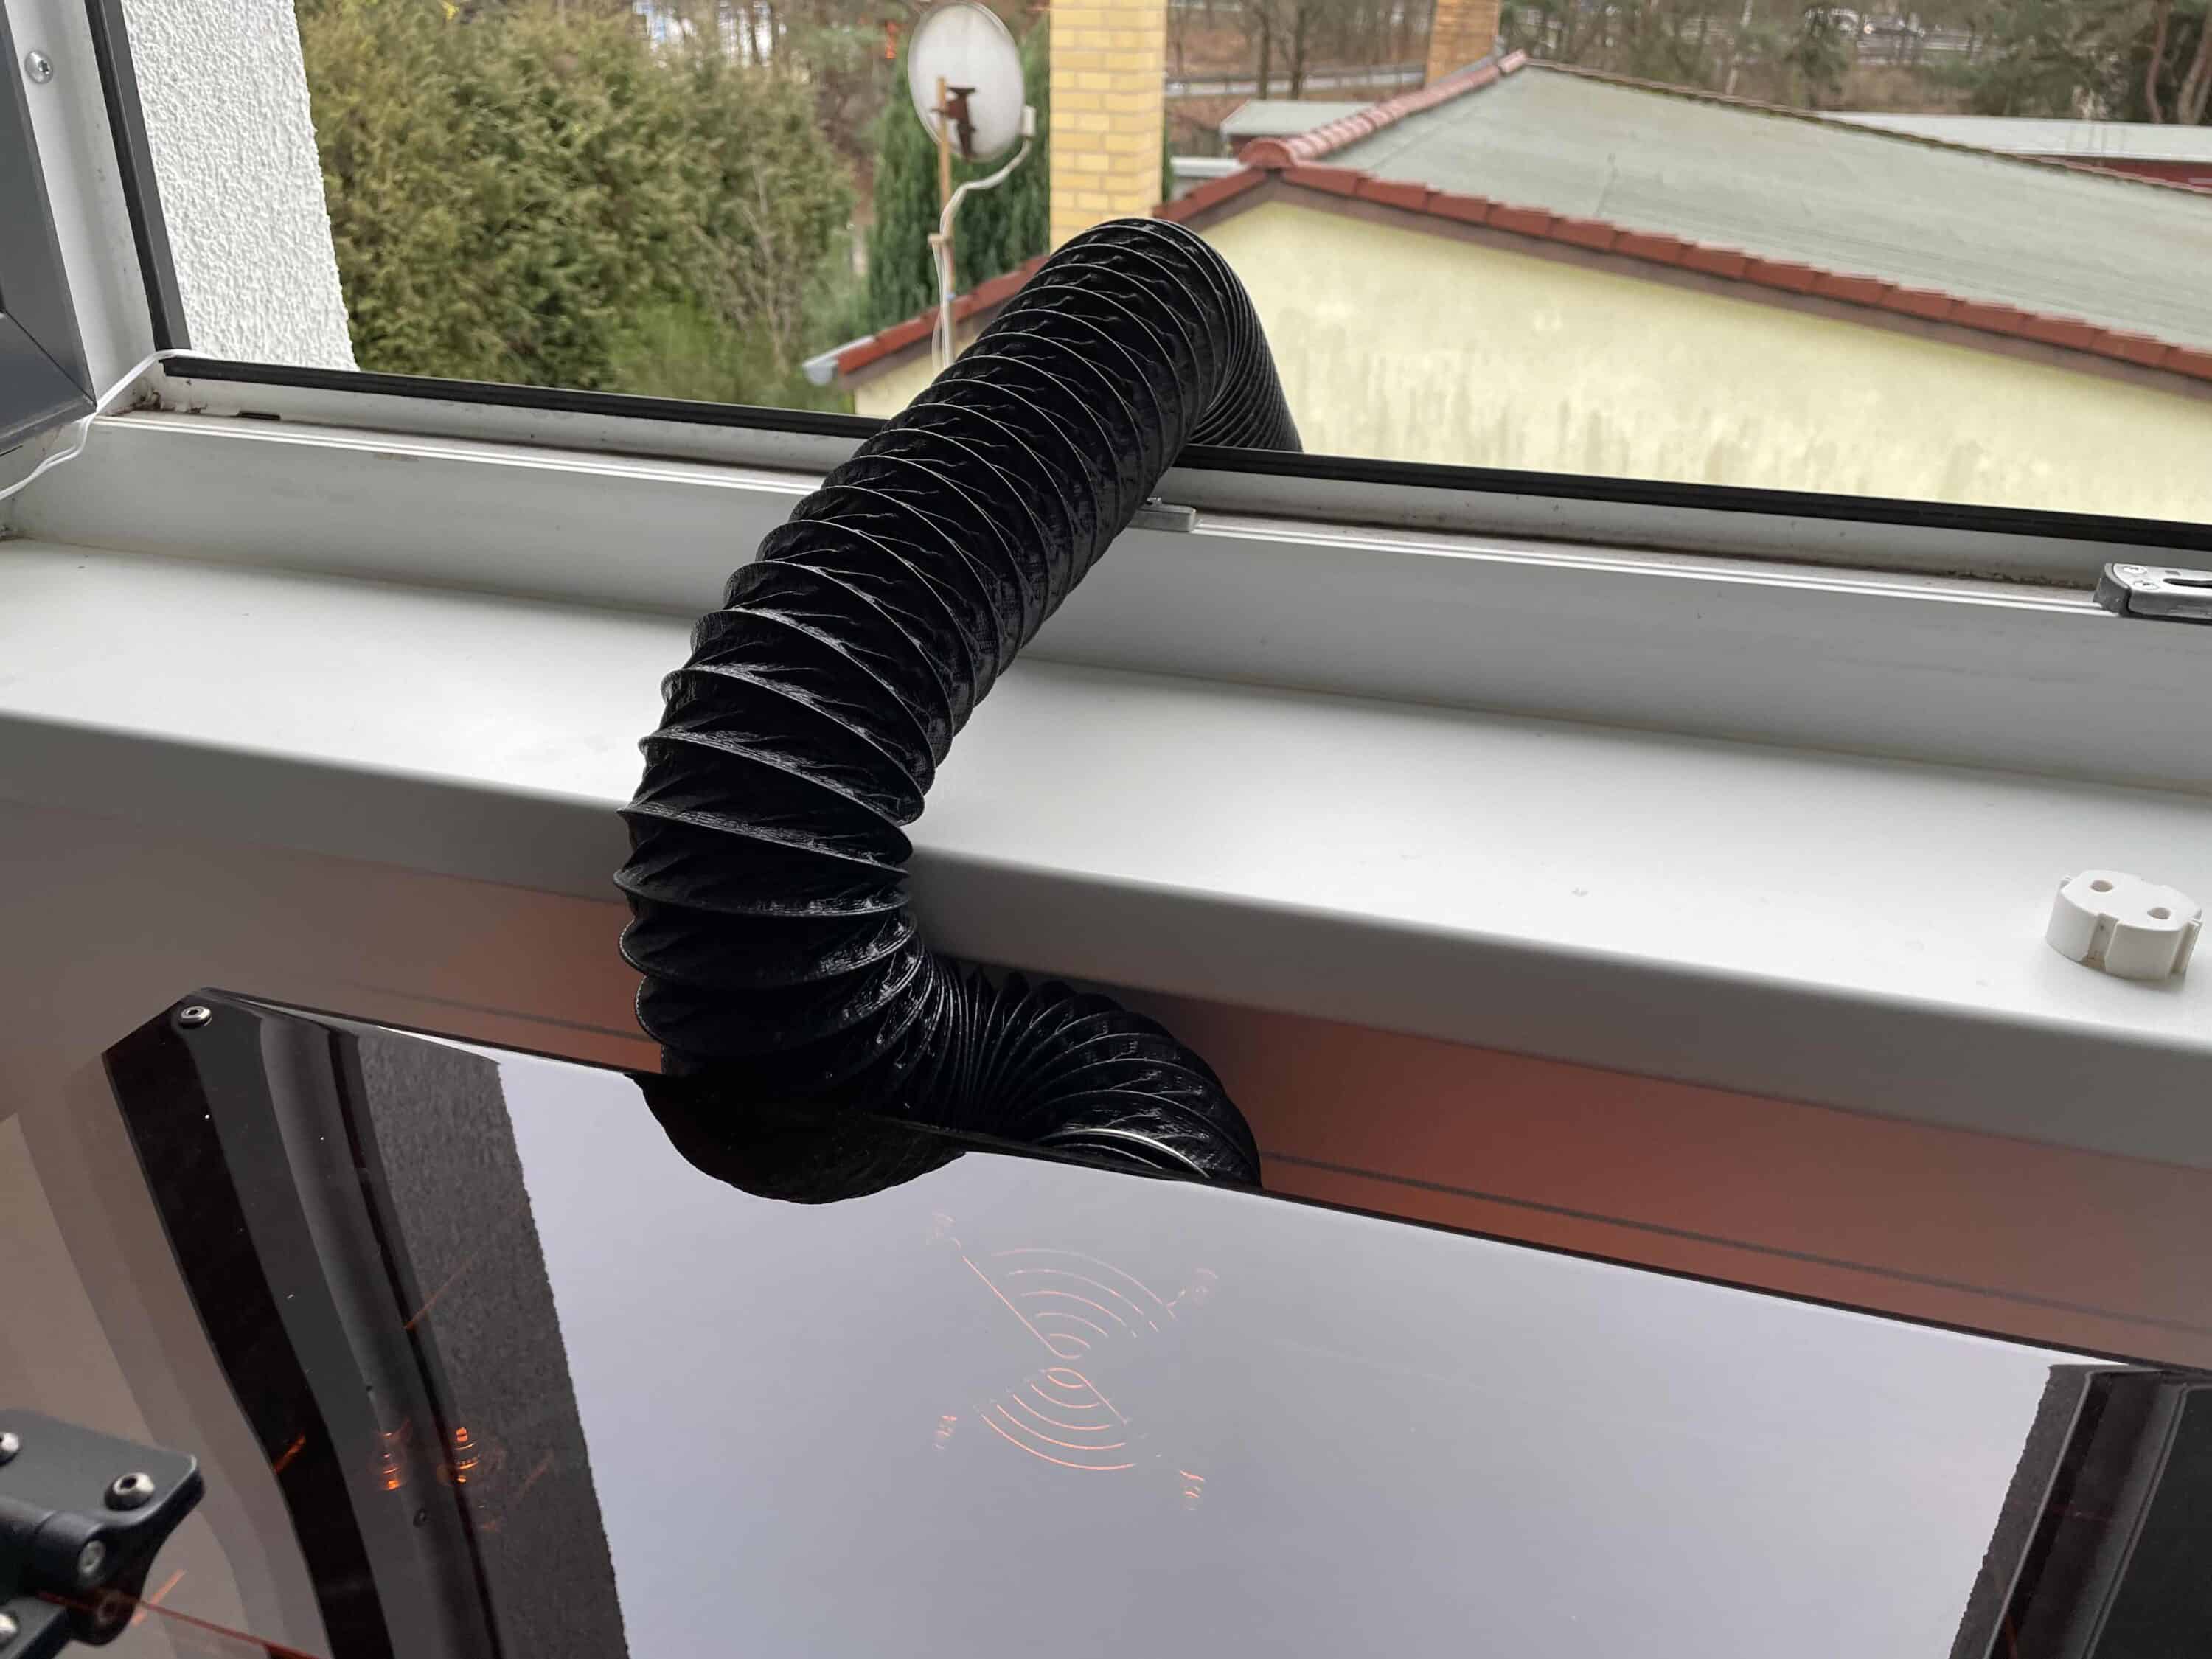
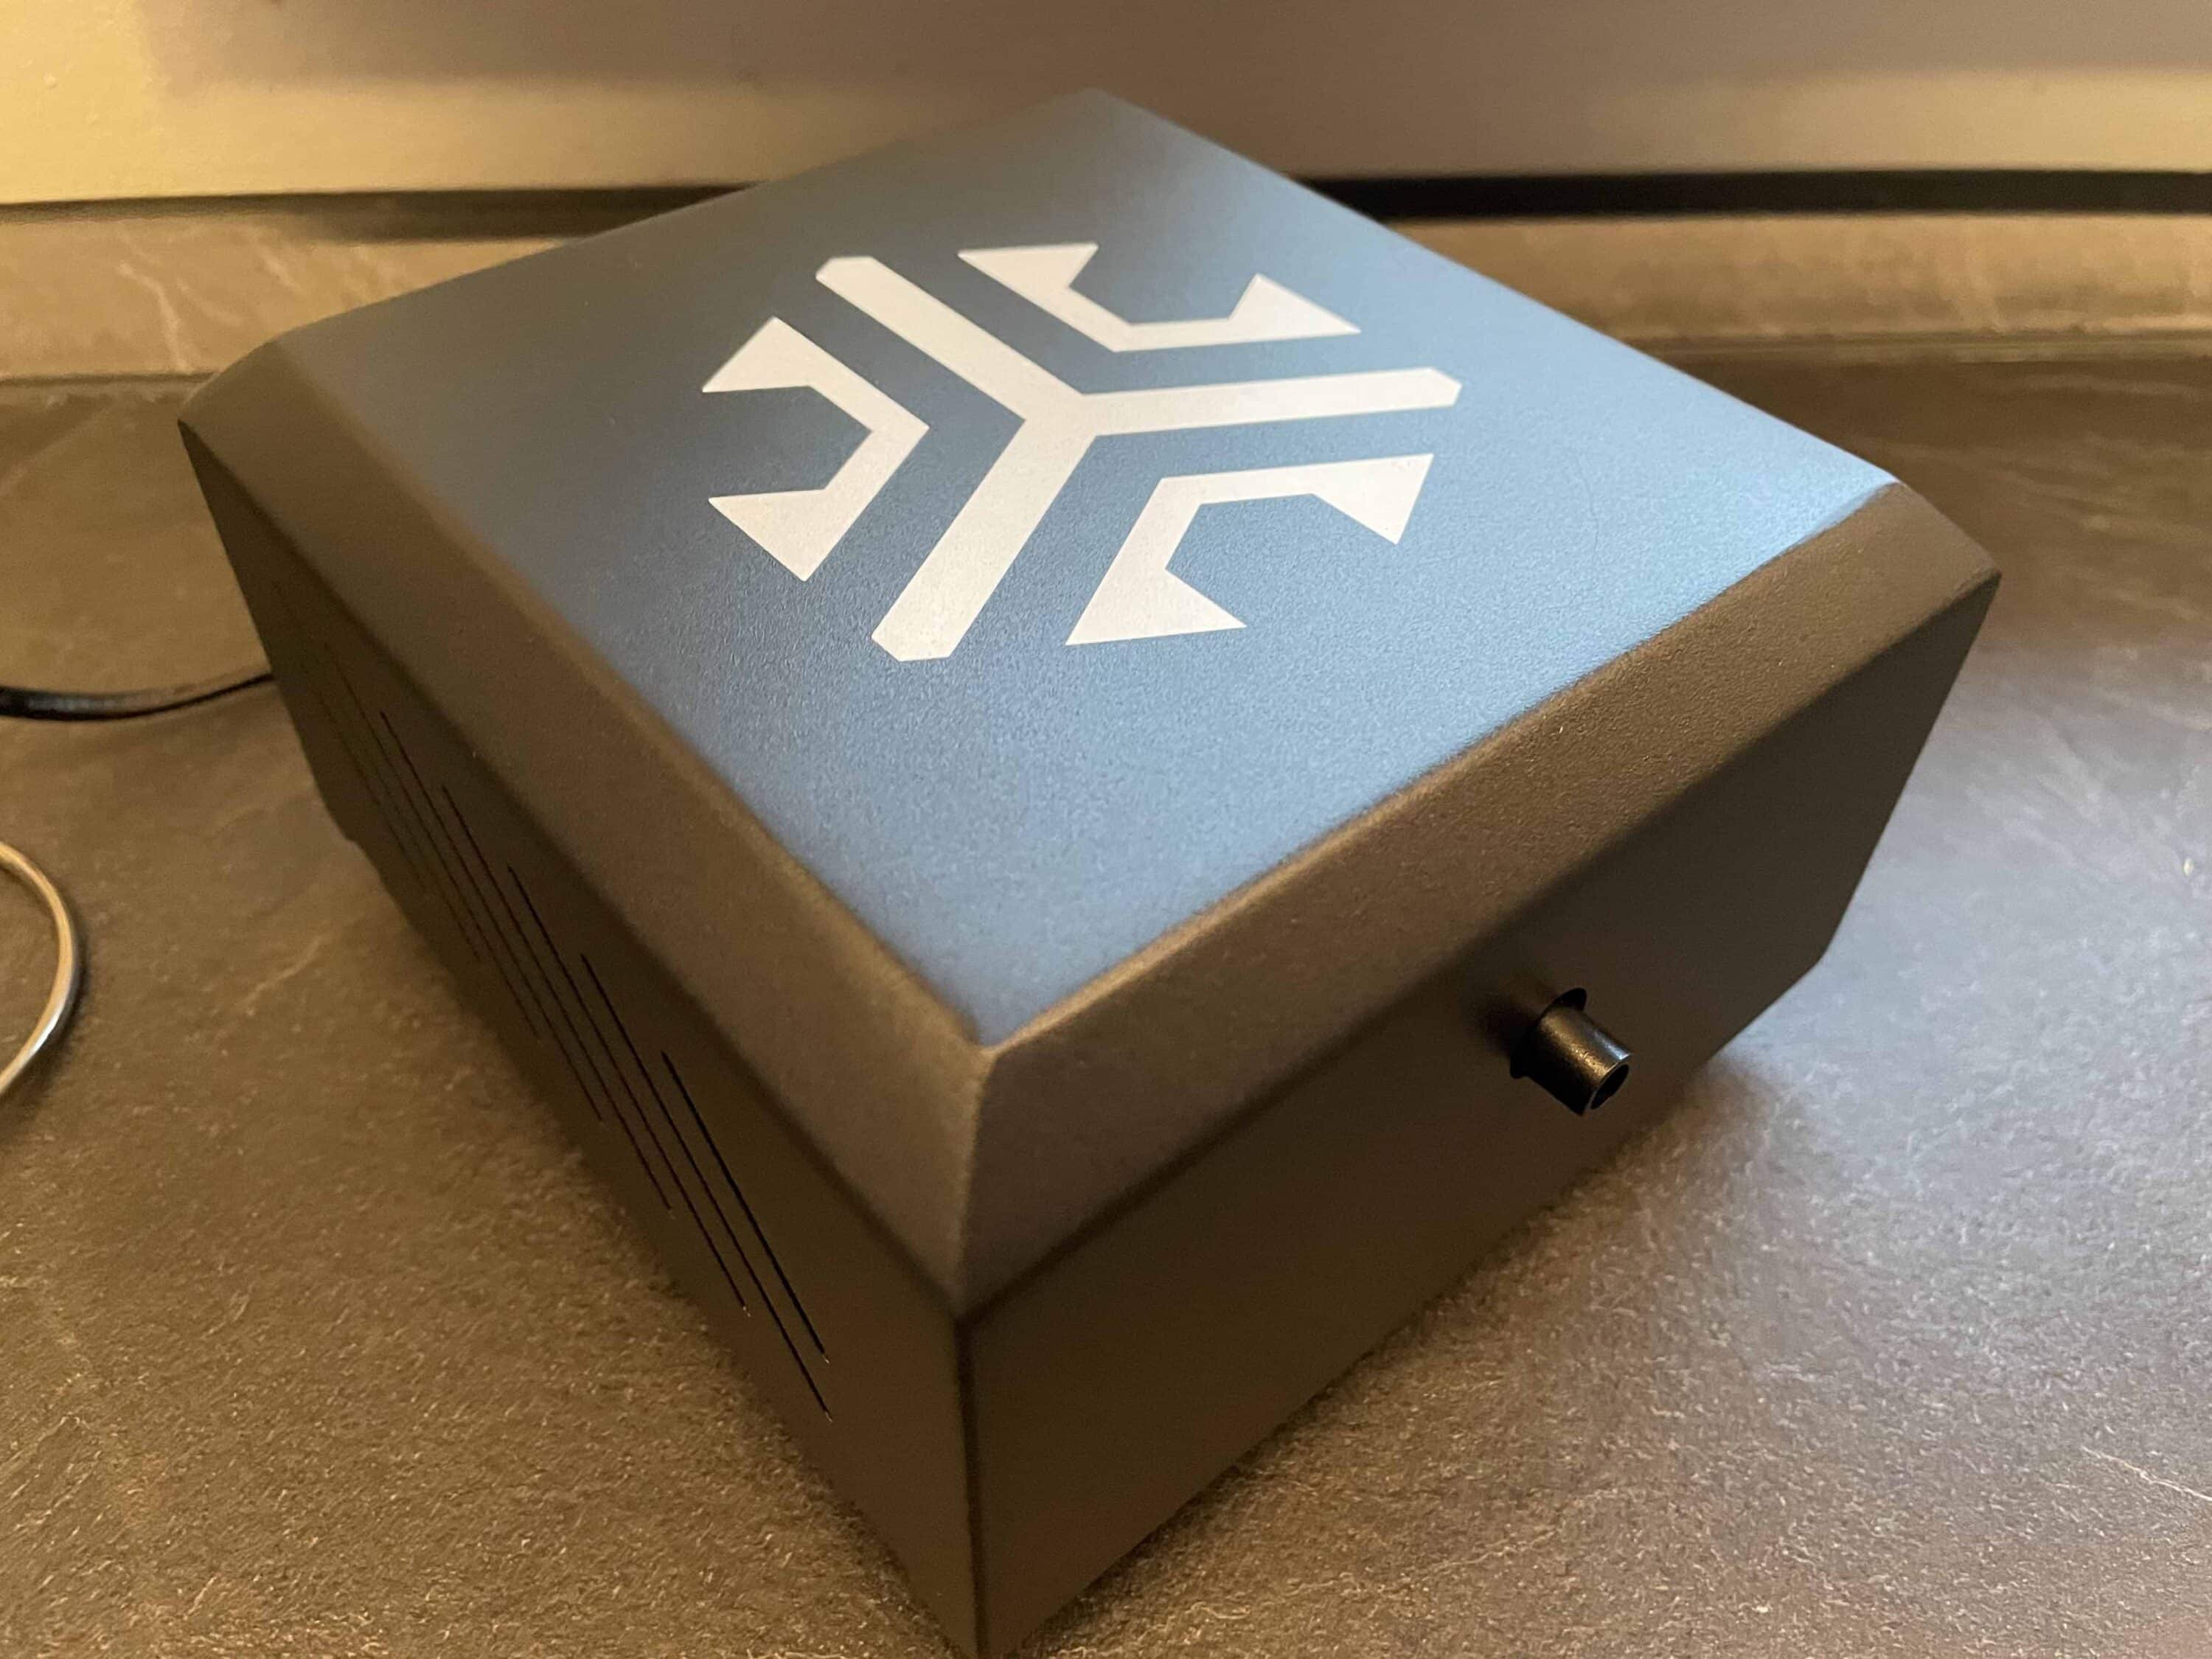
The machine was finished engraving in just a few minutes. Thanks to the special insert, you can even engrave long plates with a maximum width of up to 400 mm. During operation, you can rest assured that no smoke will be generated outside the machine. This is ensured by the powerful air extraction system.

In the test, I simply let the corresponding exhaust hose hang out of the window and was thus able to easily remove the resulting smoke. Another positive aspect that struck me was the low operating volume. I have already been able to test some much louder laser engraving machines. After the practical test, the Acmer P3 leaves a really positive first impression.
Conclusion
The Acmer P3 impresses both beginners and professionals with a successful combination of user-friendliness, flexibility and performance. Newcomers should only allow a little time for setting up the software. The high-quality workmanship and the closed, safe design ensure carefree working. Thanks to modular laser heads, from a precise 2-watt IR laser to a powerful 48-watt diode laser, the machine is equipped for a wide range of applications.

Particularly noteworthy is the practical camera, which saves a lot of time when positioning the materials to be processed. Unfortunately, I found calibrating the camera a little awkward. I also liked the powerful but quiet air extractor. The final results are also impressive. It looks rich in detail and contrast. The device also impresses with its high working speed. The Acmer P3 is therefore a good choice for hobby users and professionals looking for a flexible, well-designed laser engraving machine.

VORTEILE
- Stylish design and high build quality
- Modular design with interchangeable laser heads
- Integrated camera
- High working speed
- Many safety functions
NACHTEILE
- Calibration of the camera did not run smoothly
- Training in Lightburn time-consuming for newcomers
Fazit
The Acmer P3 is a powerful laser engraving machine that scores highly in terms of flexibility thanks to its interchangeable laser module. However, newcomers should allow plenty of training time.


